 Tweet
Tweet
Well more a look at the build, quality & why they don't send the rear bars out for a D.I.Y fit..
1st impressions on arriving at Raslarr Engineers factory is all good nice tidy workshop with things happening!
After having a chat with Rob I was allowed access to take Pics & generally get in their way while they went about building the bar.
With the Pajero, (Gen 3 on), due to the monocoque chassis & the fact aftermarket Tow bars, Sub Tanks & models with rear Air Conditioning all can effect the way a rear bar is mounted.. So rather than say we only do for some & not others Raslarr only take on the Pajero as a Custom supply & fit in their factory.. After seeing 1st hand the build & fit I understand why!
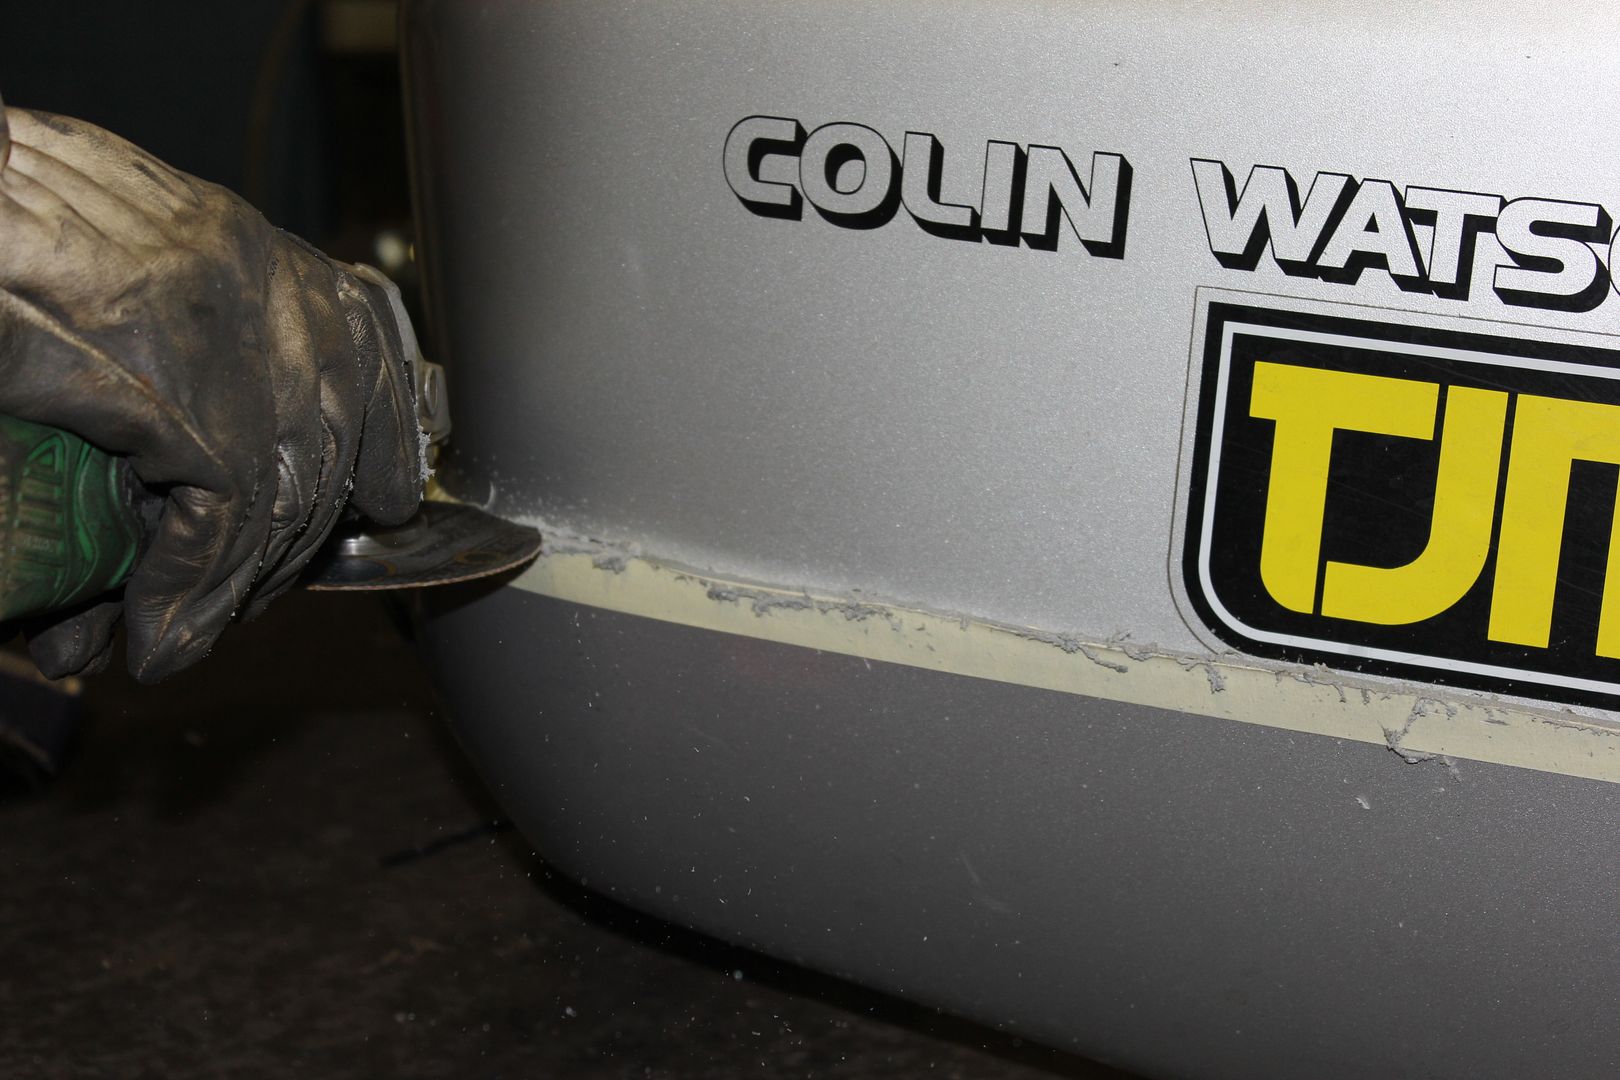
The cutting begins:
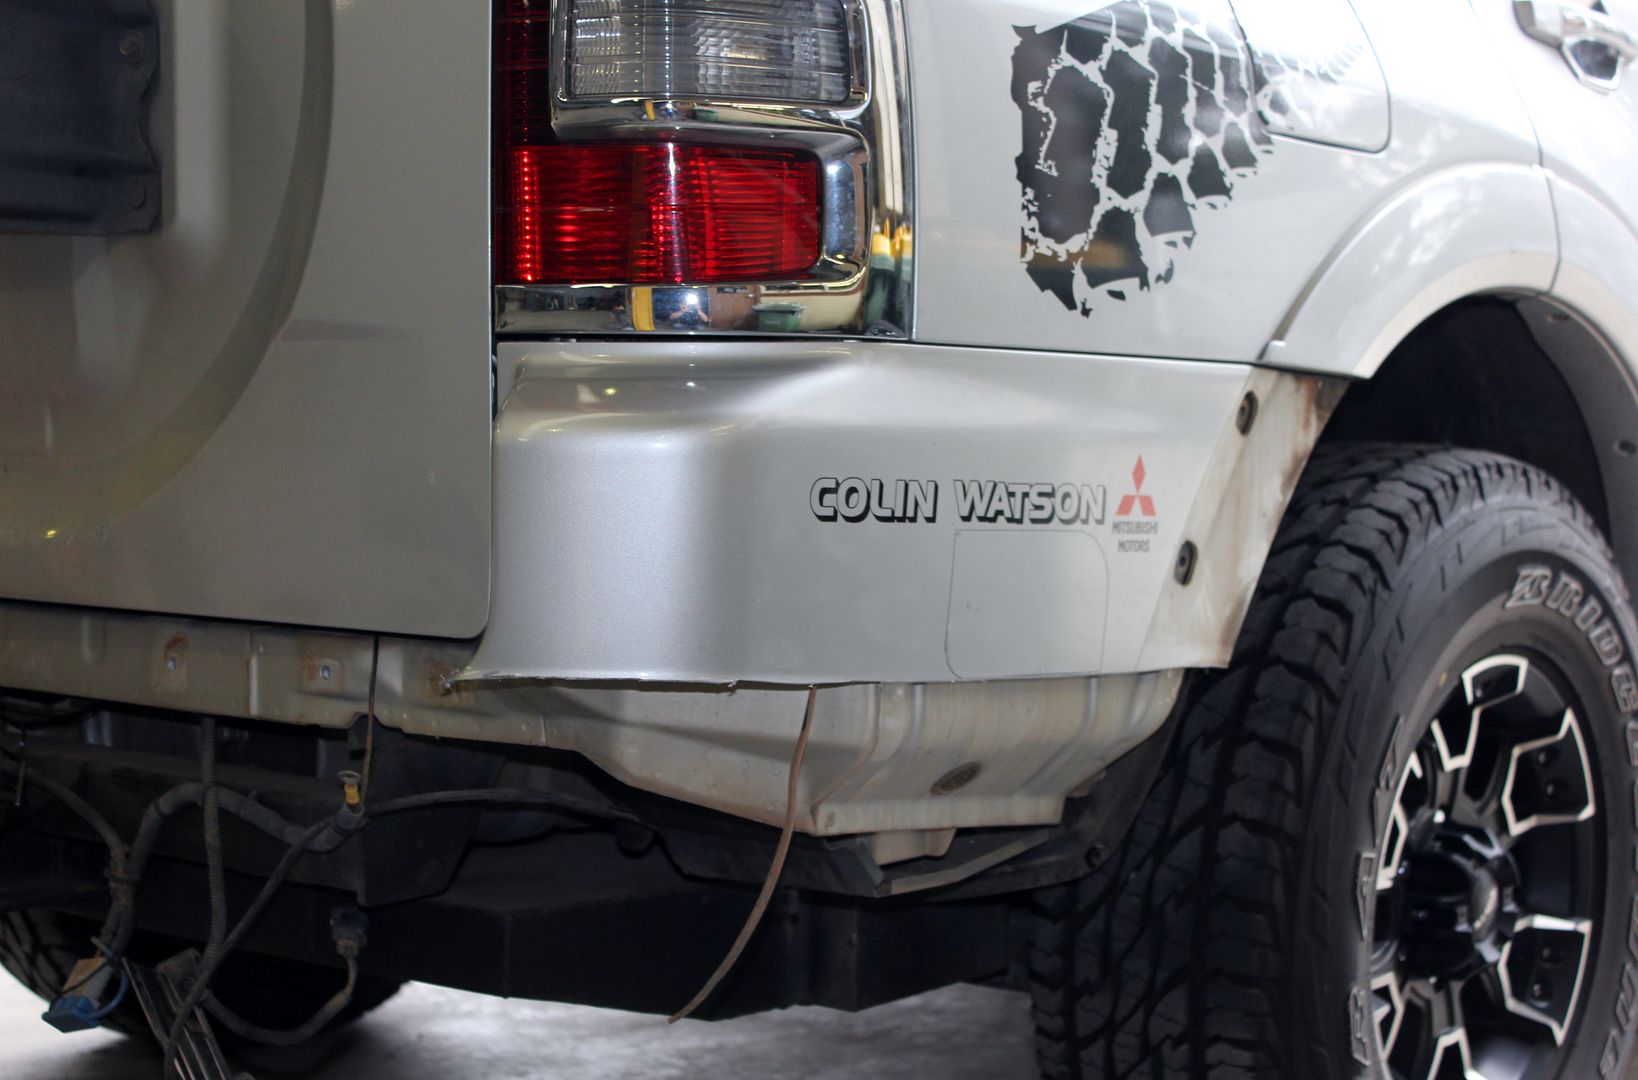
After Cut:
Face of Bar is Lazer cut:

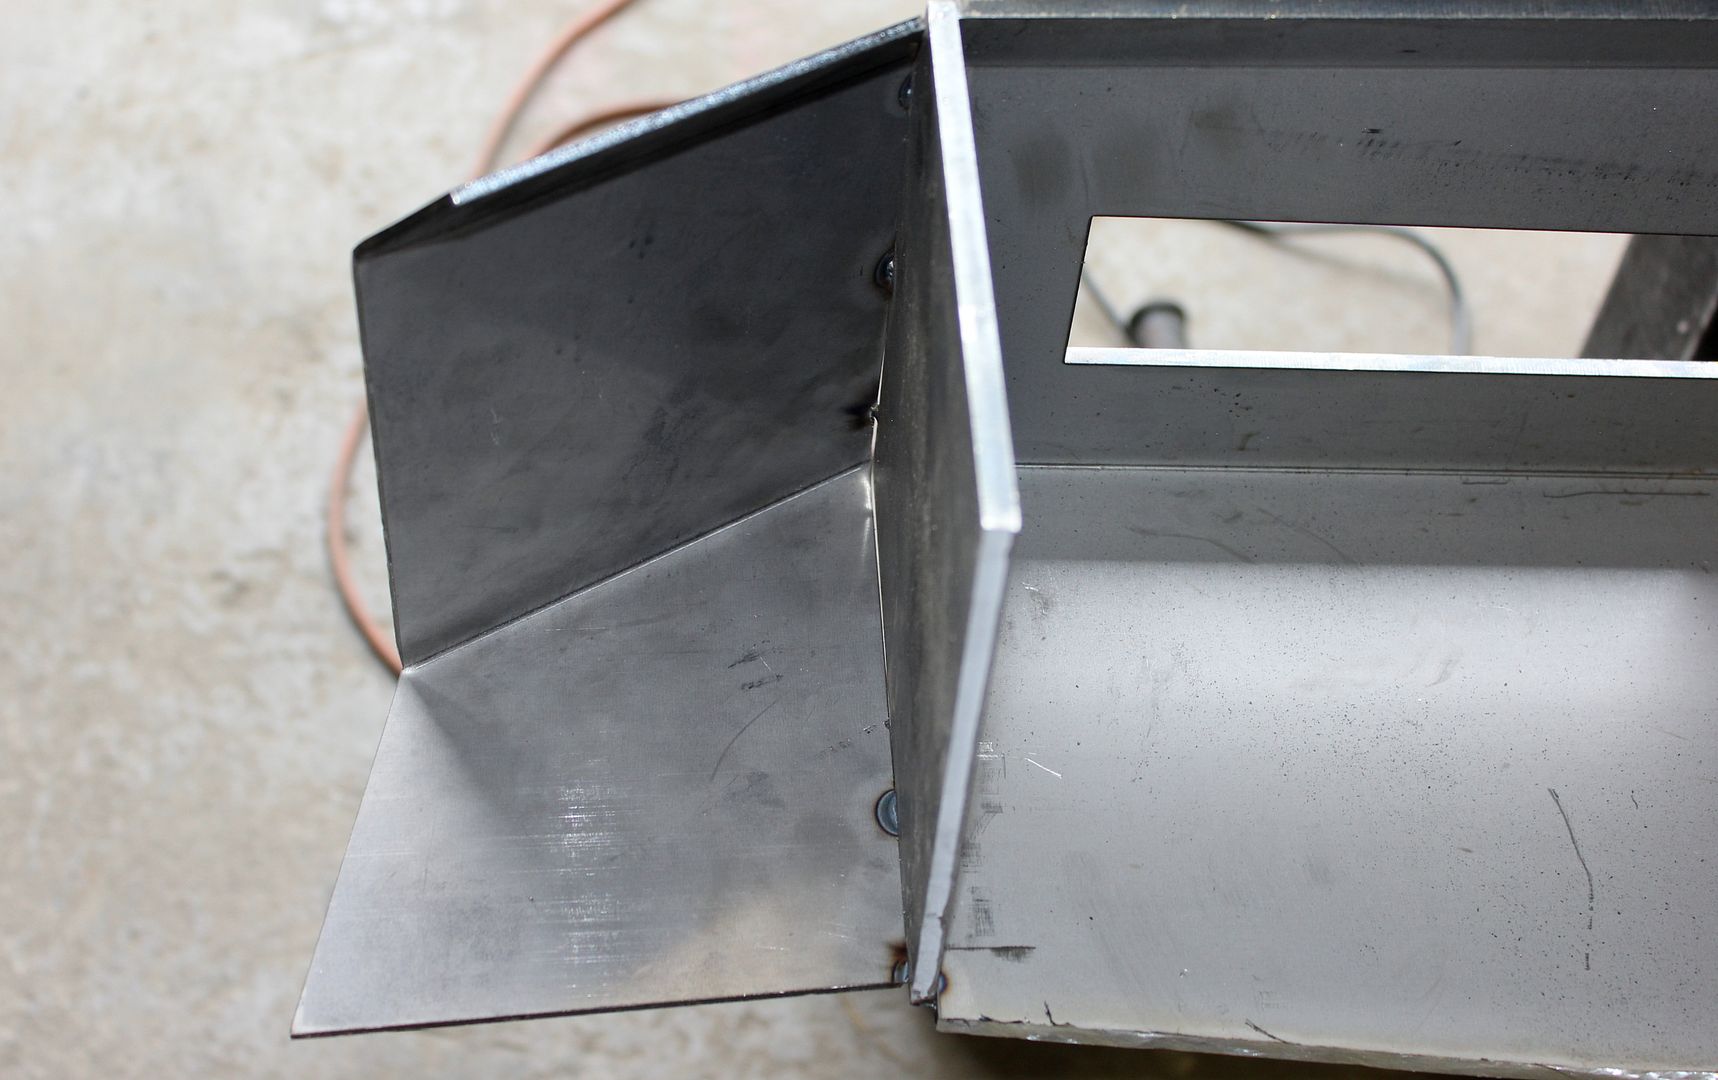
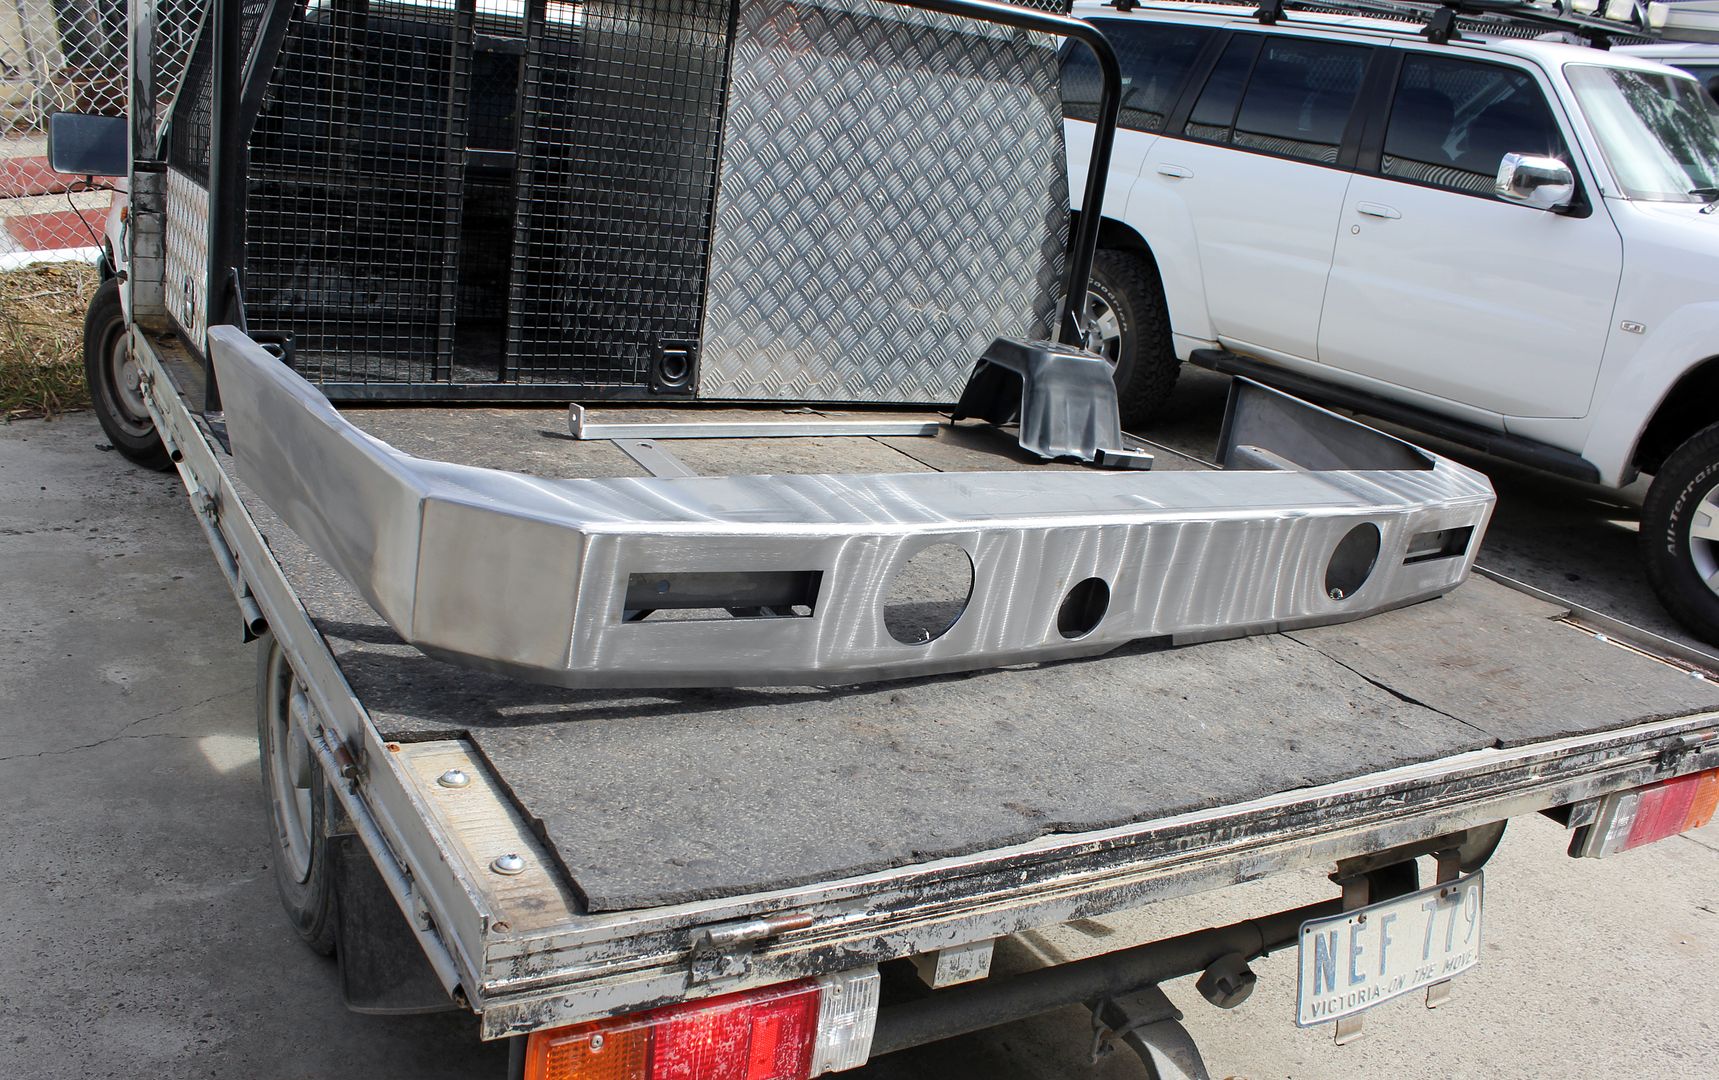
Shaped & Ready for tacking:
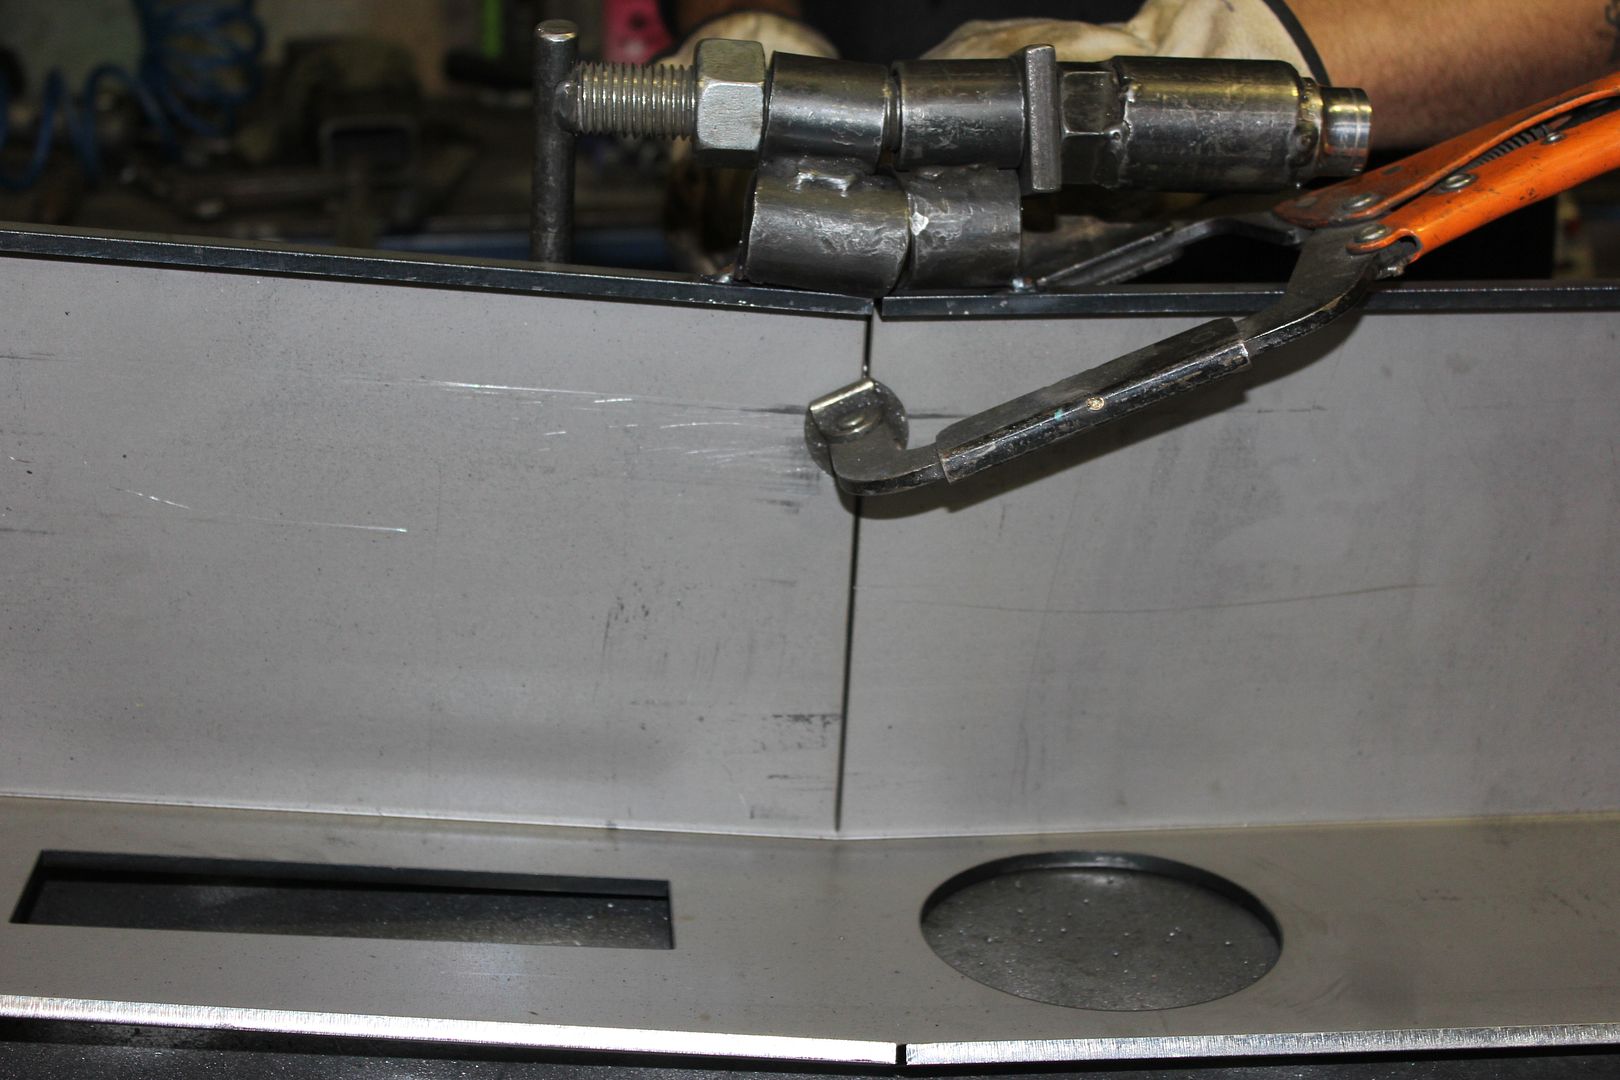
Yes your right! 6mm Plate..
Adding Corner piece & bracing:
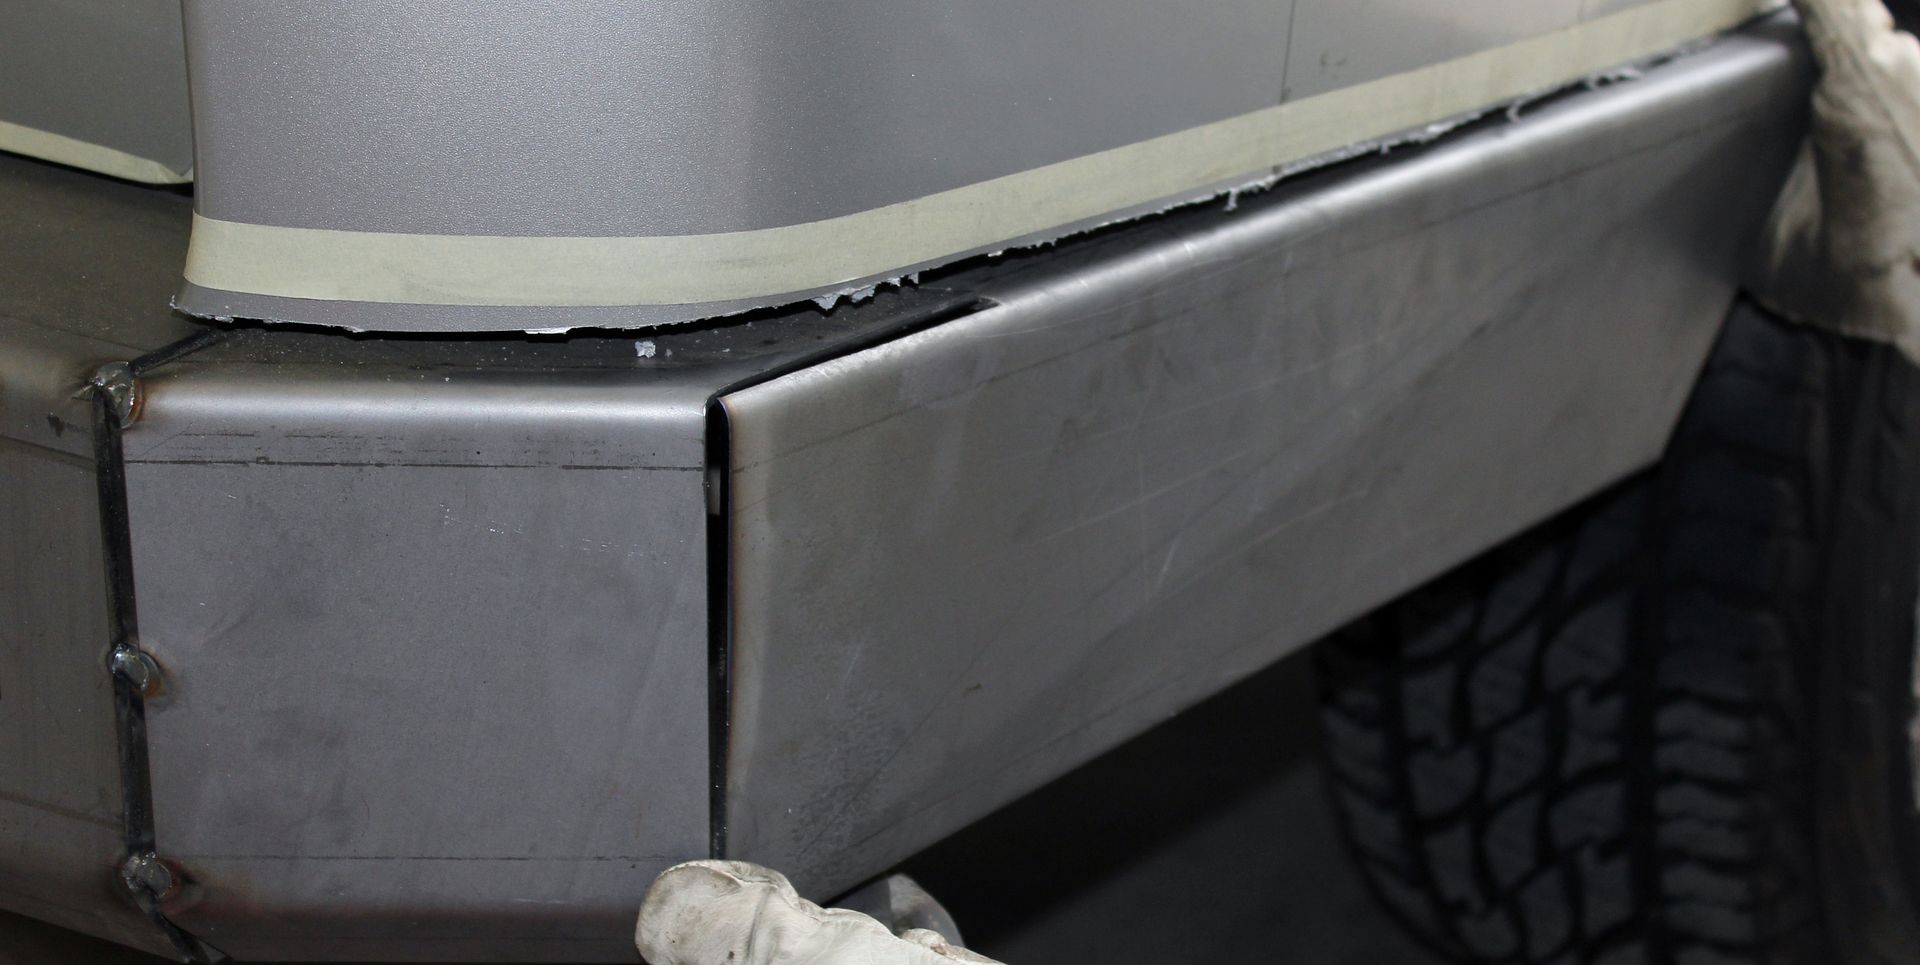
Time for a trial fit:
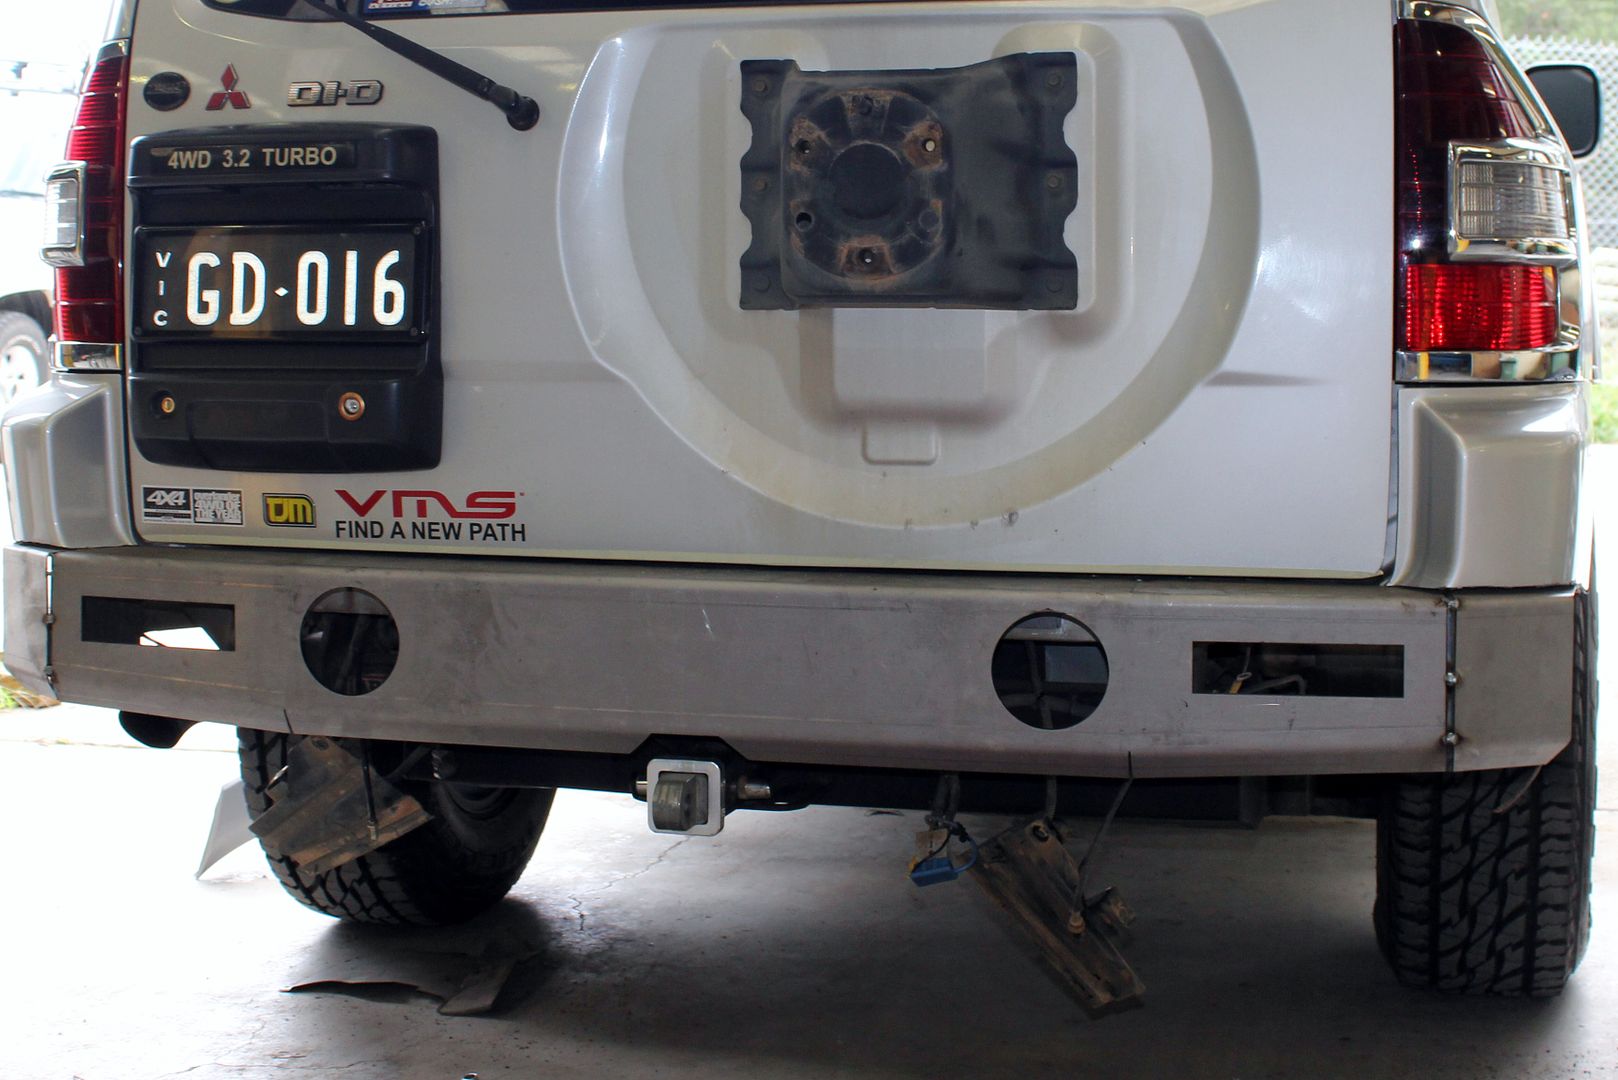
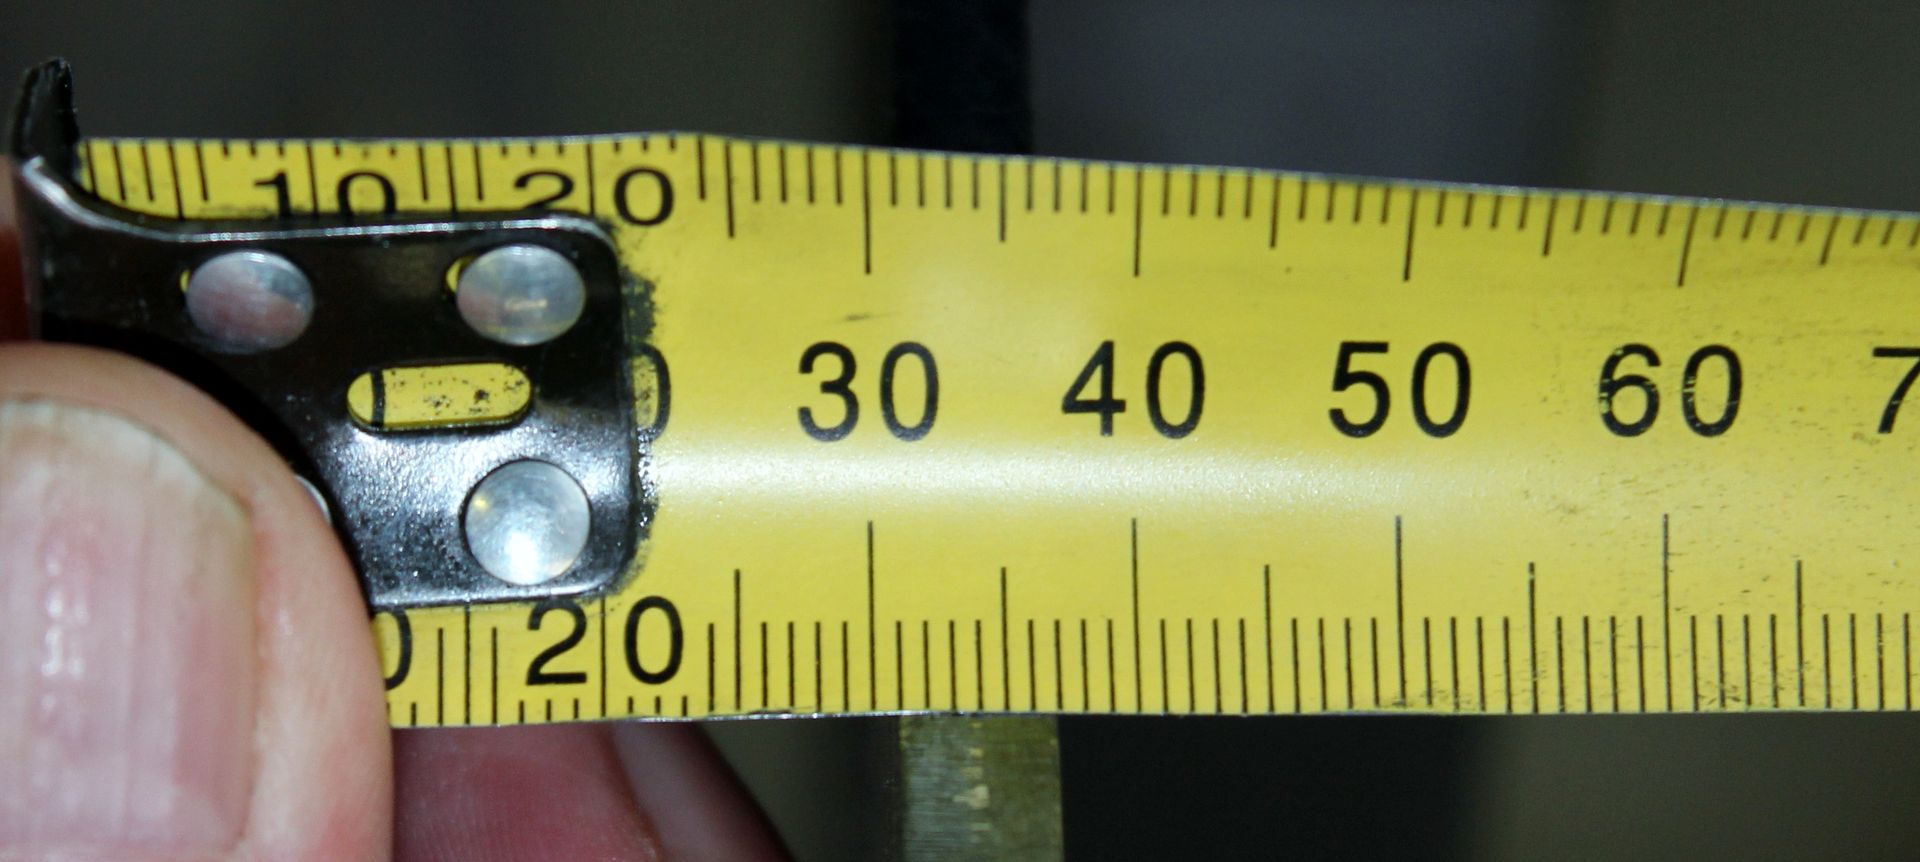
Measuring & checking for side:
From the Pics you can see these guys know their stuff the way they go about the business of building these bars impressed me & my cousin Al, (AJS1), who was kind enough to run me around & put me up for a few nights while the Bar was built & fitted. Thanks Al
For those that can have Rear Bars made to order, (Other Makes & Models), & sent out I can say without doubt they take just as much care in the way they Pack & wrap them for transport!
Back to the Fit up!
It's important to point out here that my Bar was custom made to MY NM Paj normally they would have the rear Bar sitting out further to allow pivots for the swing out arms for 1 or two Spares.. In my case I have no intentions of ever wishing to add later so as Rob custom fits he was happy to cater to what I wanted. In other words if your clear to what you want he will build it ! With in reason of course!
Cleaning up:
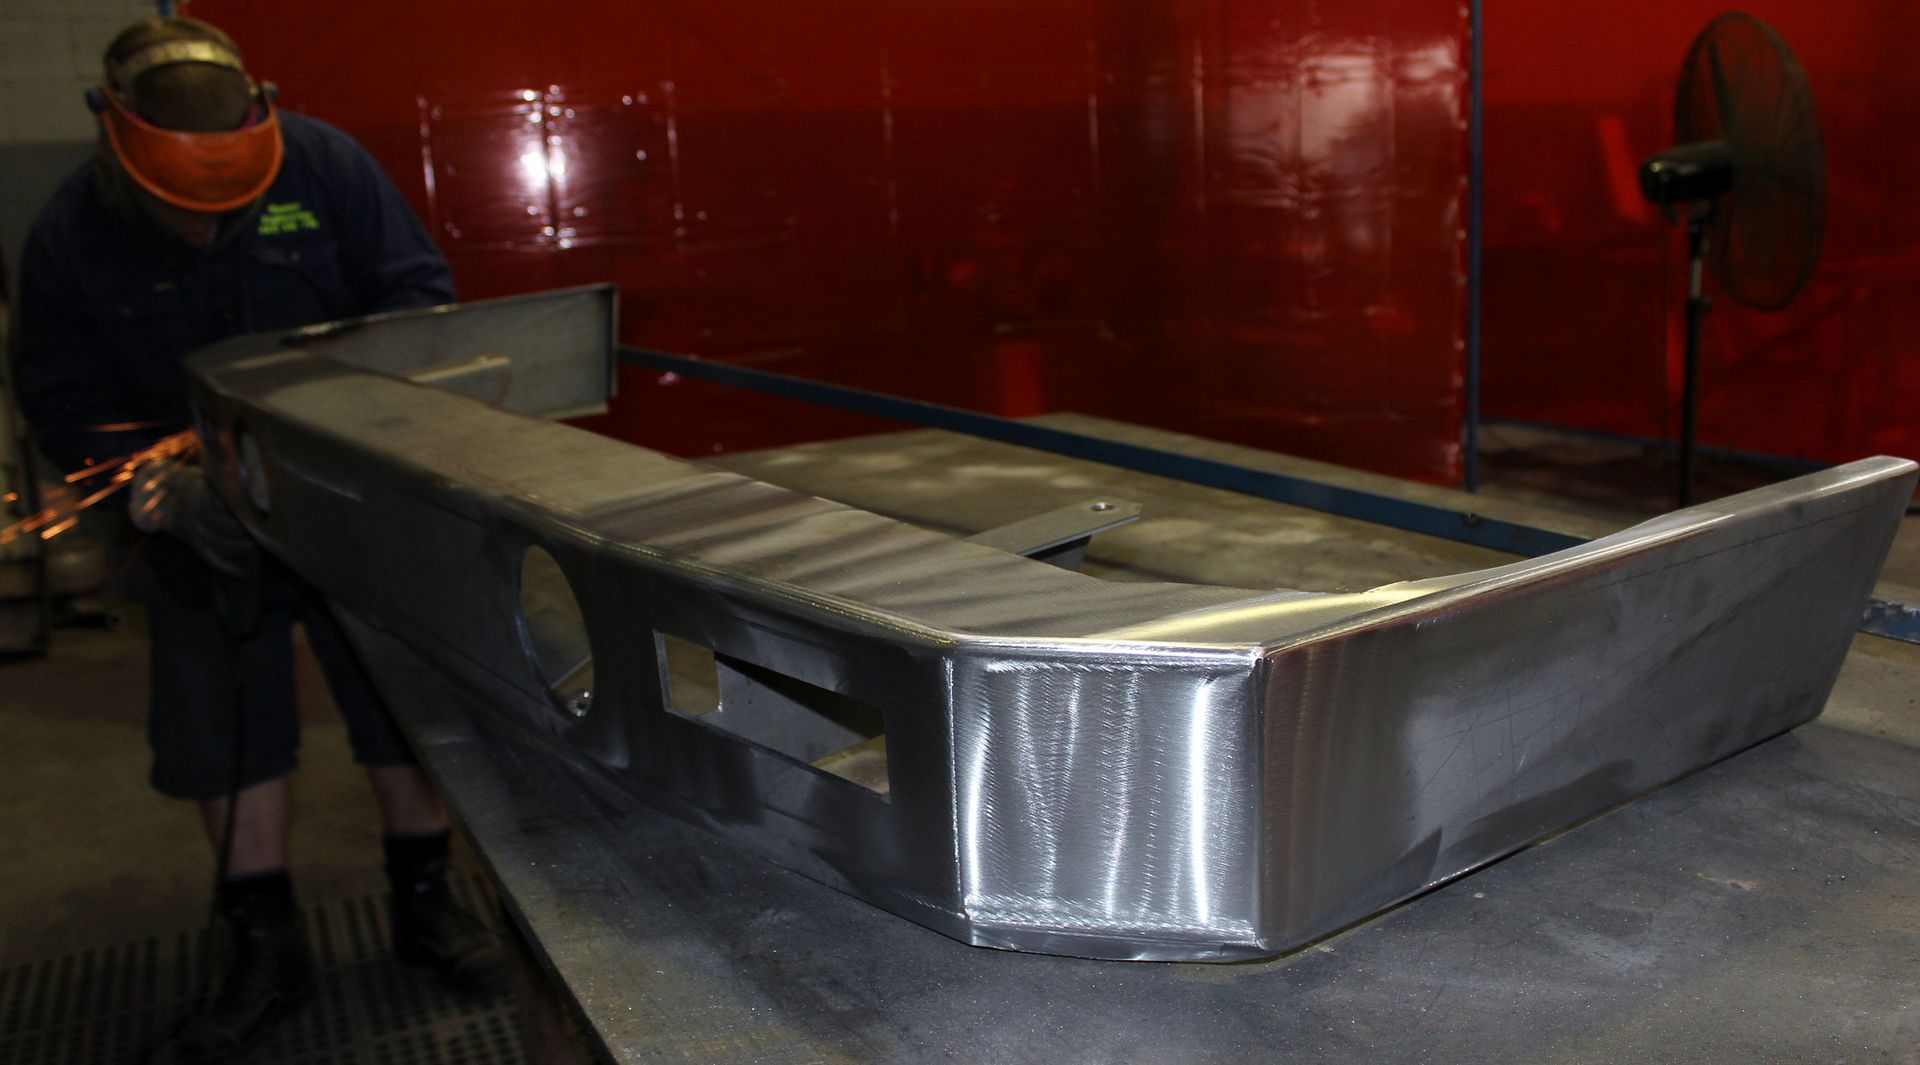
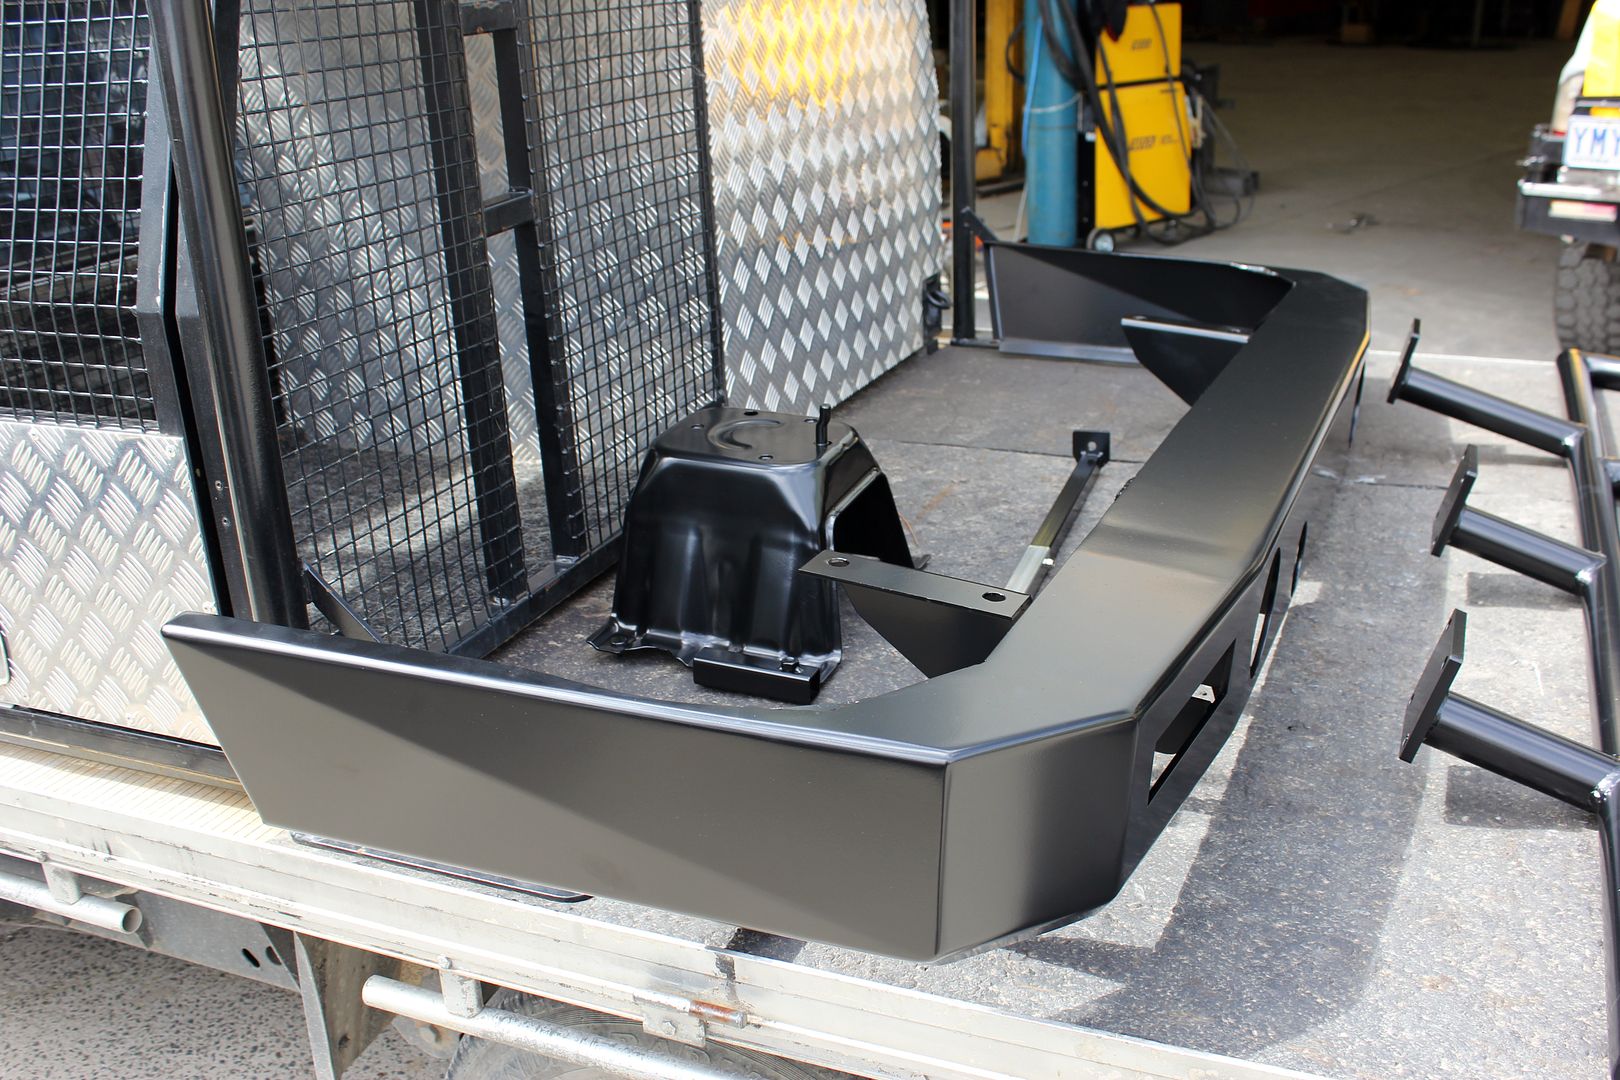
On board ready for the Powder Coaters:
Back from the Powder Coaters:
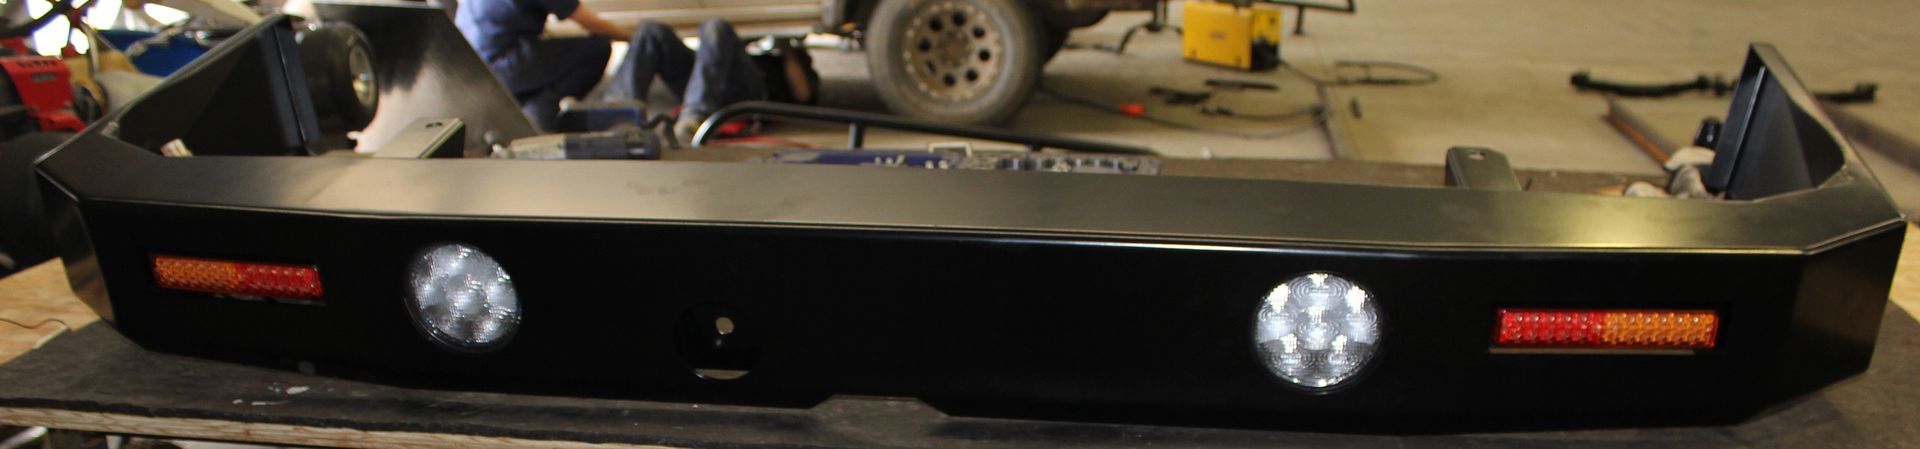
Fitting up Lights:
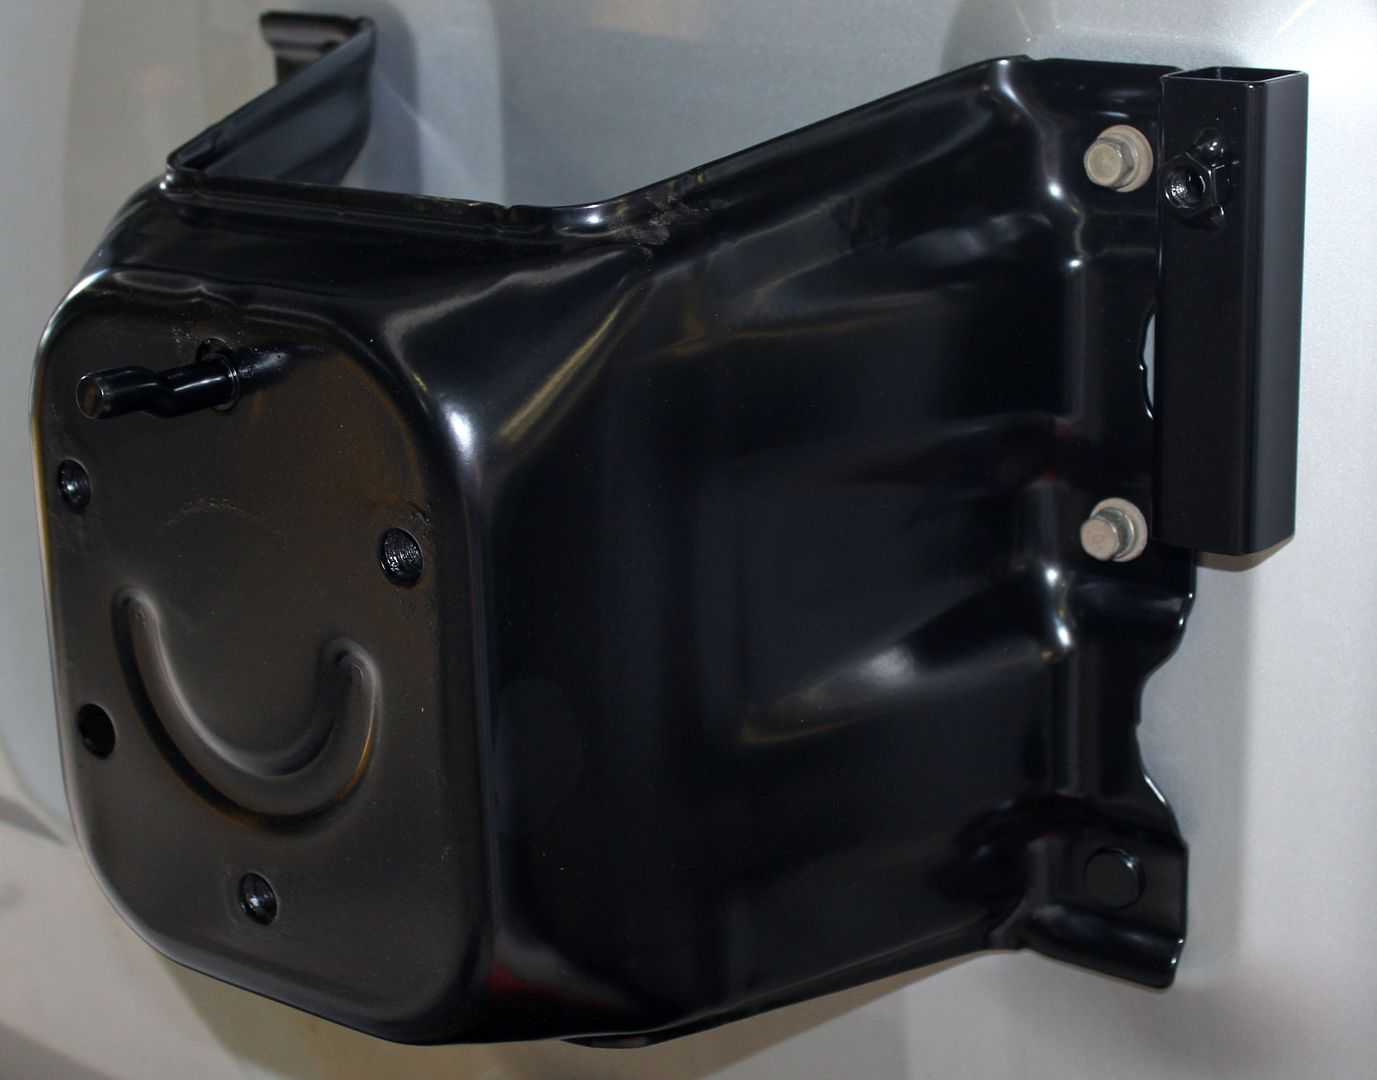
Bar on Rob Powder coated the rear wheel mount too as I'd requested a work light mount attached to it:
[IMG]http://i250.photobucket.com/albums/gg270/gusvin/IMG_3878_zps4890601e.jpg[~original/IMG]
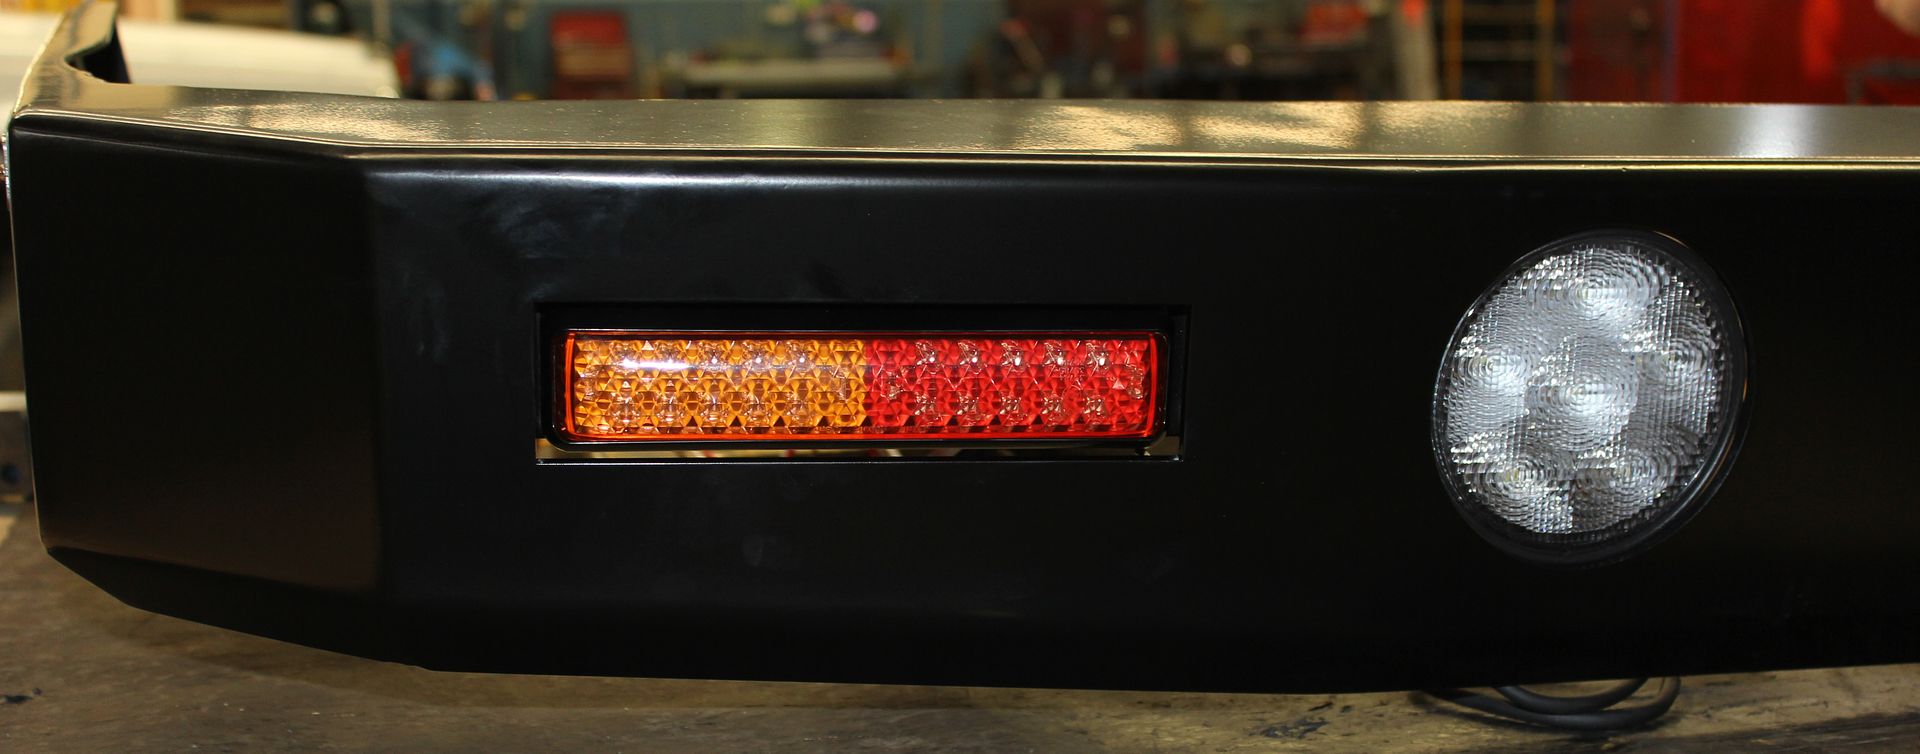
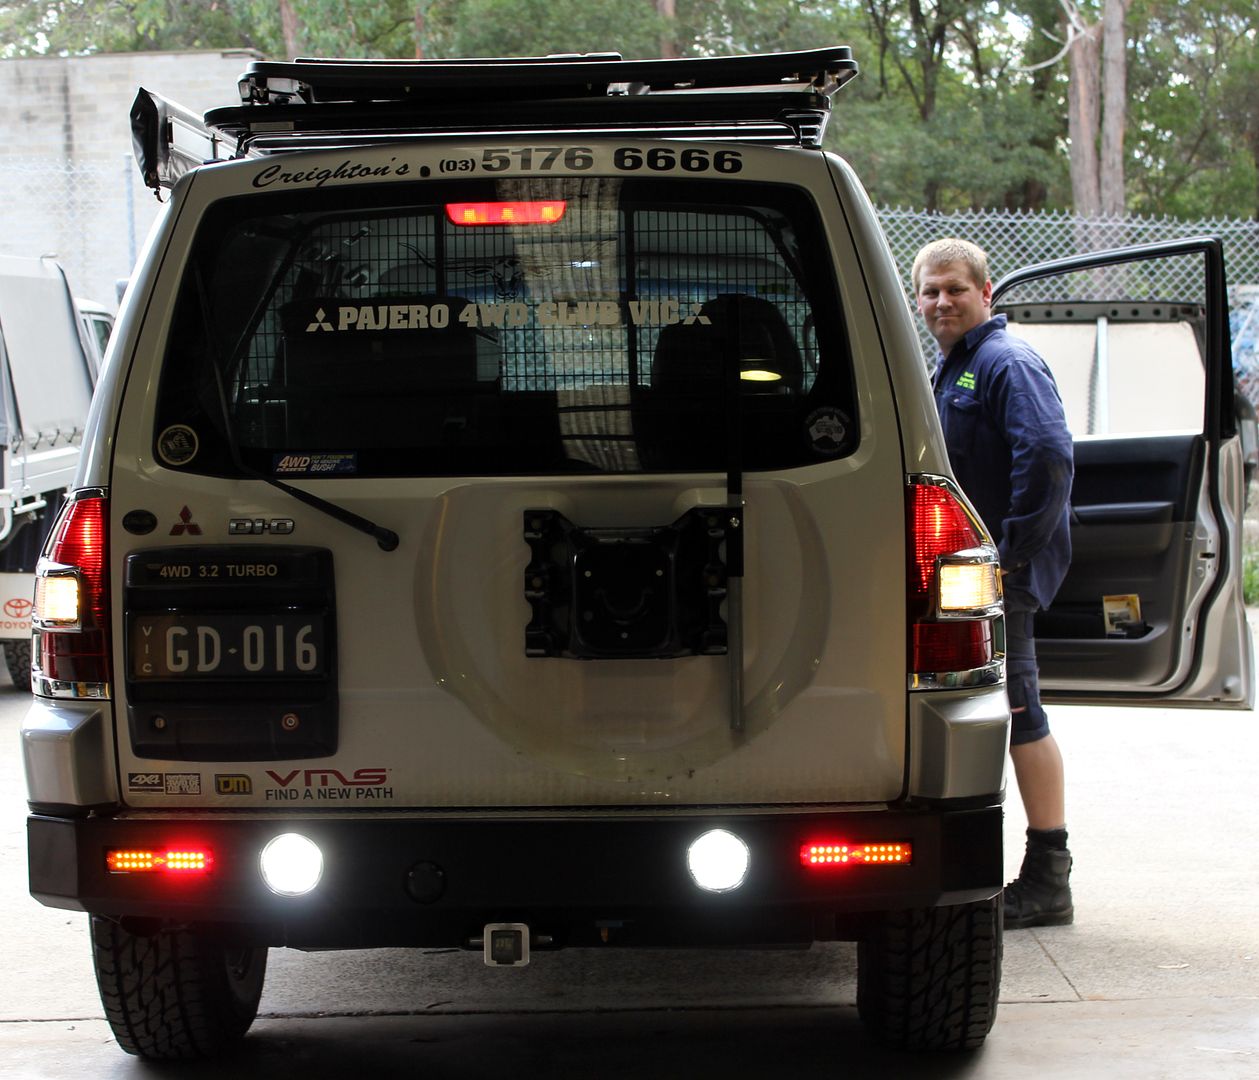
Testing Lights:
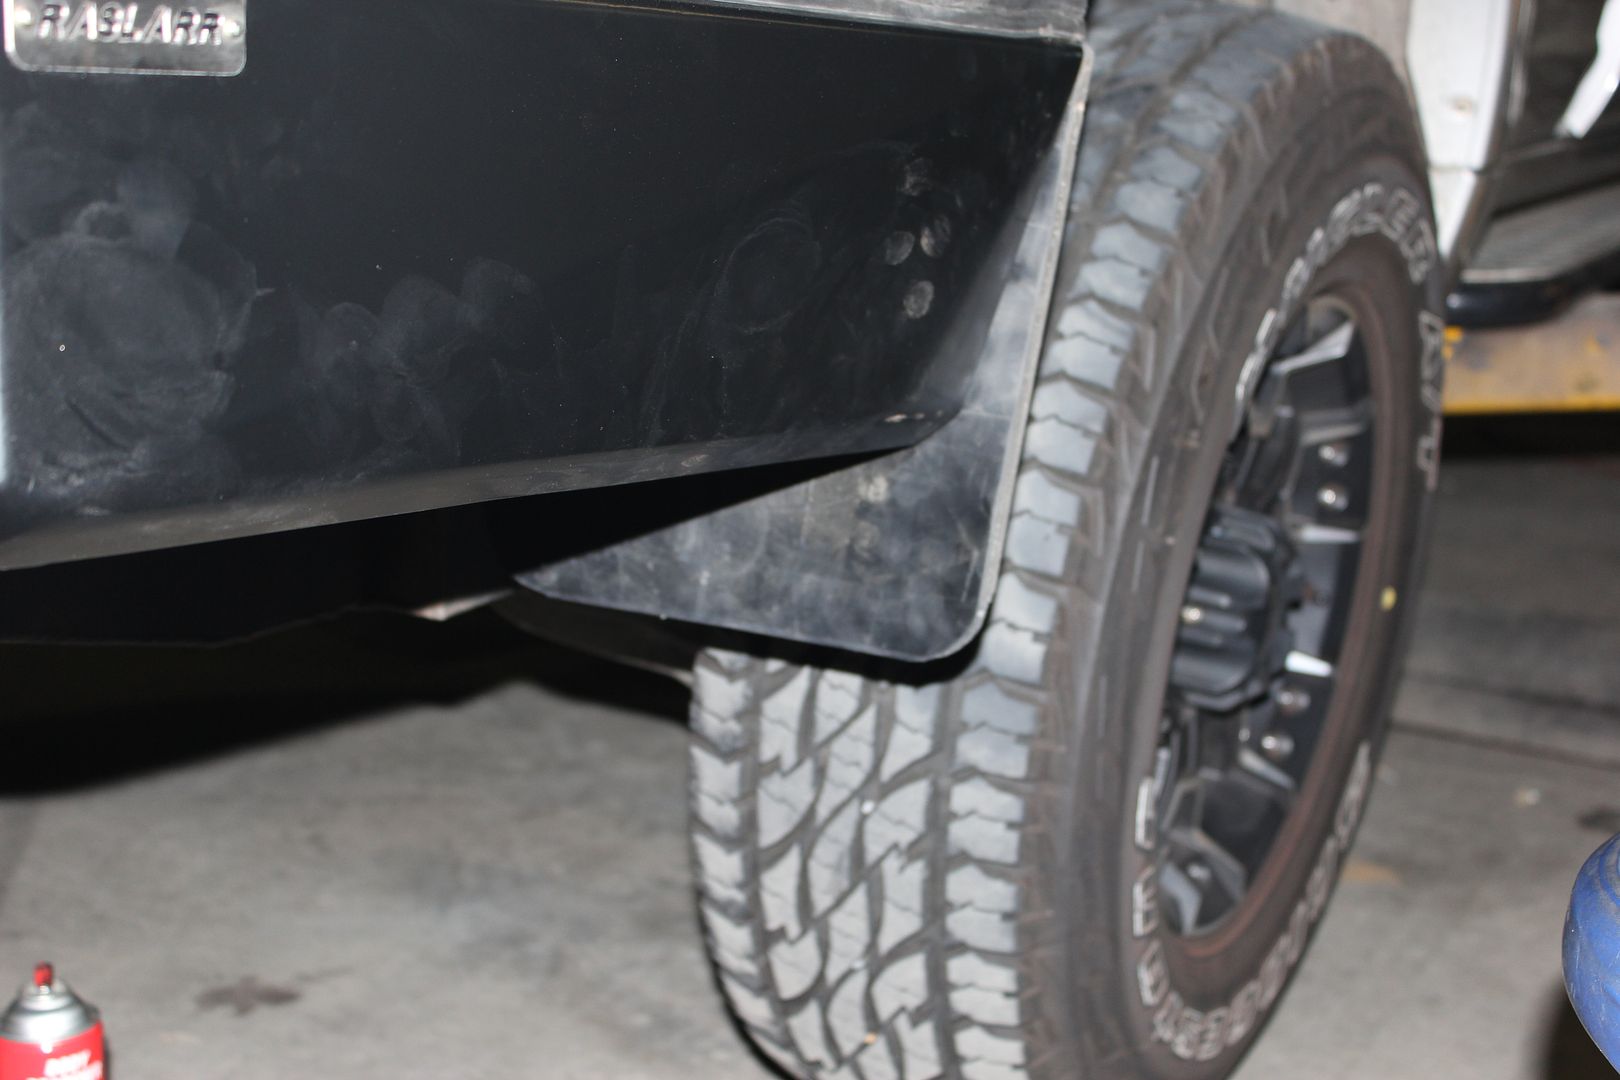
Mud Flaps done:
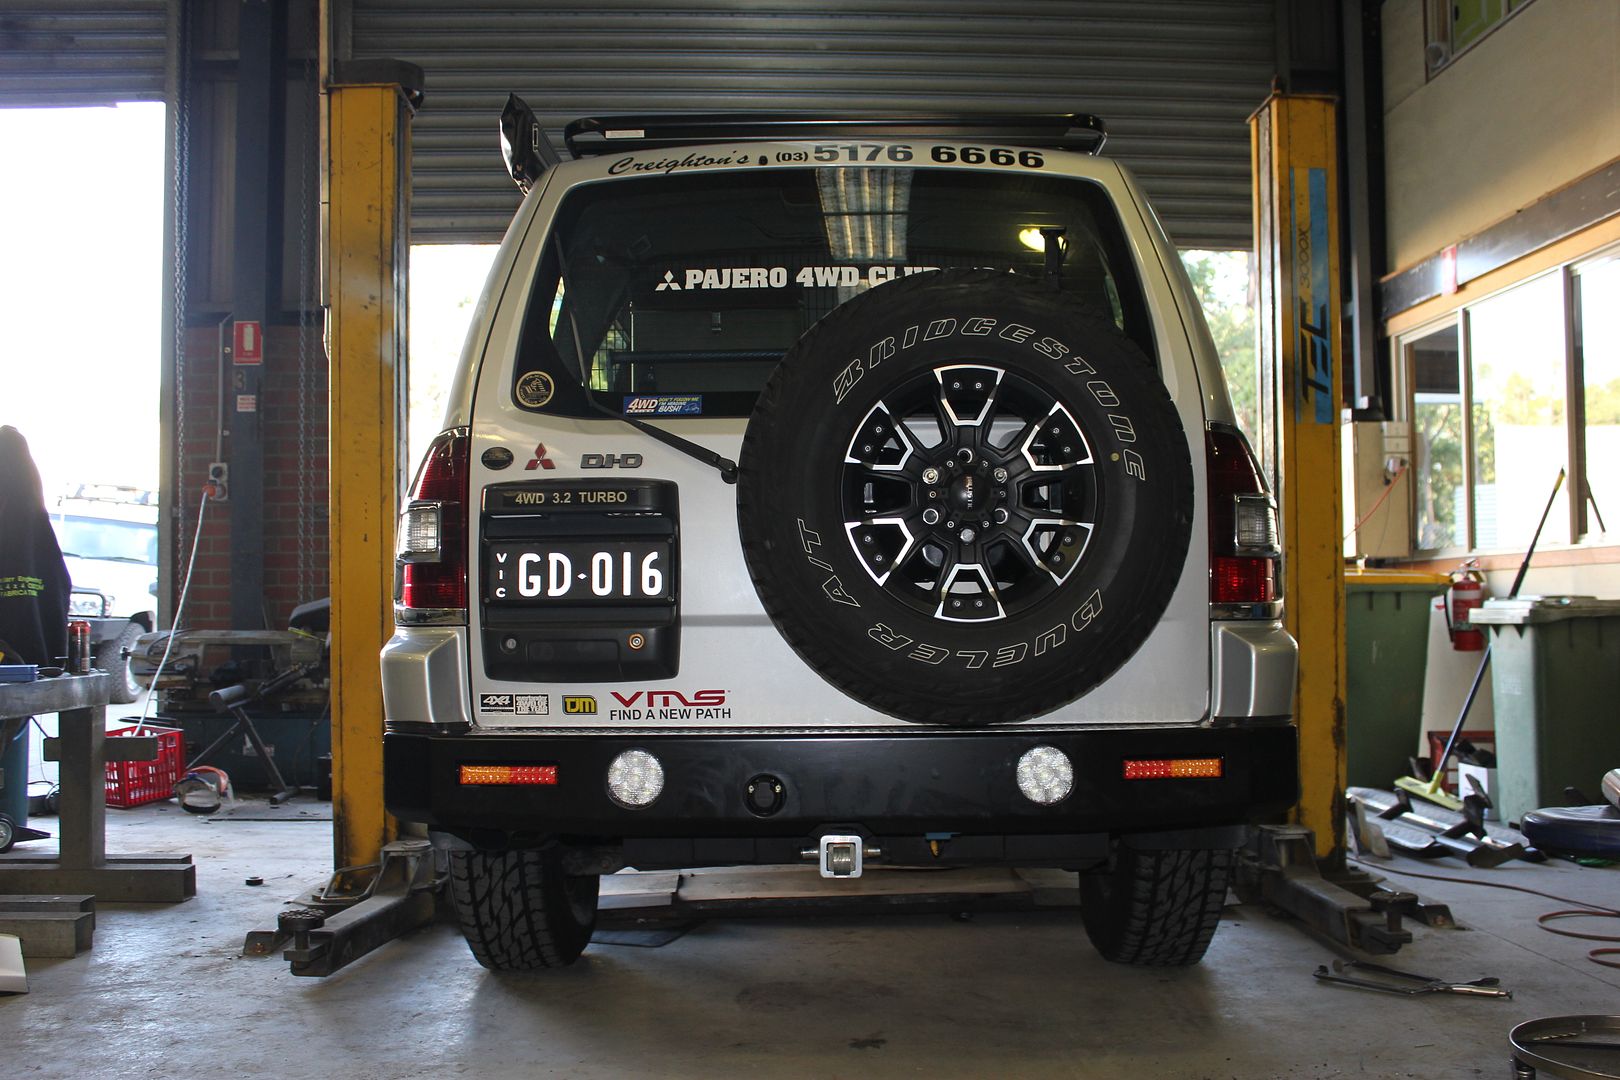
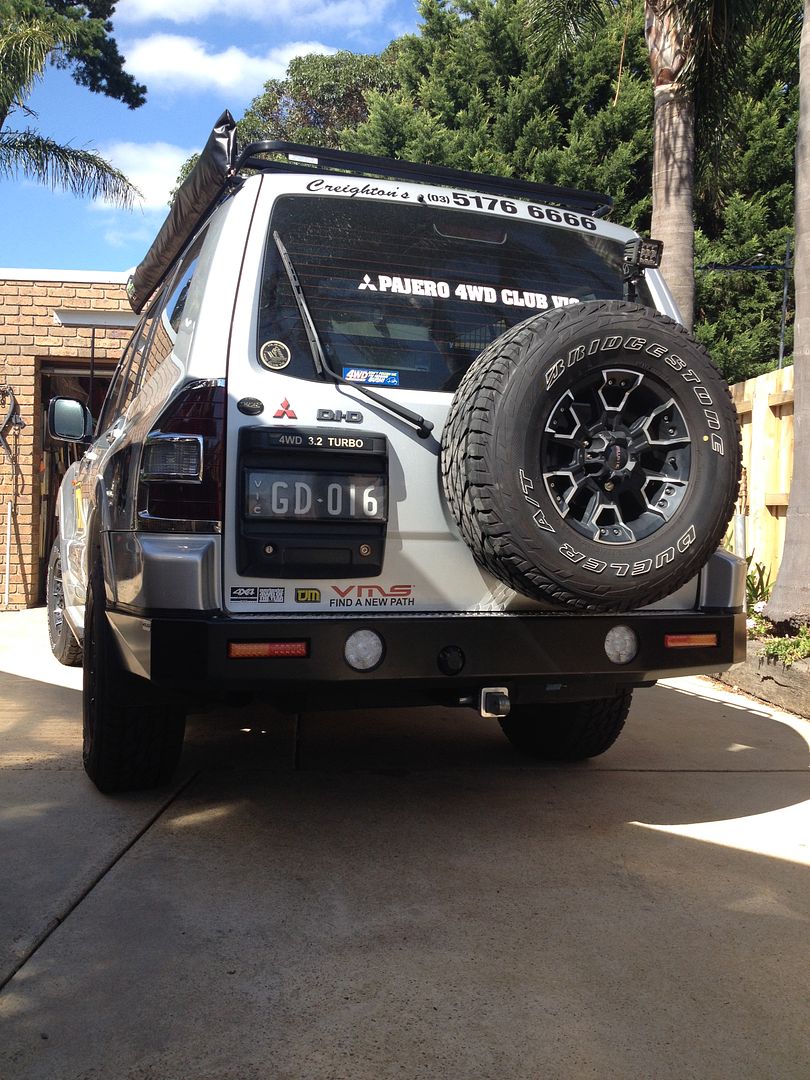
Job Done!
To say I'm happy is an understatement & for those like me who haven't the skill or time to build your own.. I am more than happy to recommend Rob & his crew at Raslarr Engineering..
(Google them & say Gus sent you )
)

Al & I fitted the Work light but like to thank Rob for adding S/W & wires while the rear door trim was off!
Gus.
1st impressions on arriving at Raslarr Engineers factory is all good nice tidy workshop with things happening!
After having a chat with Rob I was allowed access to take Pics & generally get in their way while they went about building the bar.
With the Pajero, (Gen 3 on), due to the monocoque chassis & the fact aftermarket Tow bars, Sub Tanks & models with rear Air Conditioning all can effect the way a rear bar is mounted.. So rather than say we only do for some & not others Raslarr only take on the Pajero as a Custom supply & fit in their factory.. After seeing 1st hand the build & fit I understand why!
The cutting begins:

After Cut:

Face of Bar is Lazer cut:

Shaped & Ready for tacking:

Yes your right! 6mm Plate..

Adding Corner piece & bracing:

Time for a trial fit:

Measuring & checking for side:

From the Pics you can see these guys know their stuff the way they go about the business of building these bars impressed me & my cousin Al, (AJS1), who was kind enough to run me around & put me up for a few nights while the Bar was built & fitted. Thanks Al
For those that can have Rear Bars made to order, (Other Makes & Models), & sent out I can say without doubt they take just as much care in the way they Pack & wrap them for transport!
Back to the Fit up!
It's important to point out here that my Bar was custom made to MY NM Paj normally they would have the rear Bar sitting out further to allow pivots for the swing out arms for 1 or two Spares.. In my case I have no intentions of ever wishing to add later so as Rob custom fits he was happy to cater to what I wanted. In other words if your clear to what you want he will build it ! With in reason of course!
Cleaning up:

On board ready for the Powder Coaters:

Back from the Powder Coaters:

Fitting up Lights:


Bar on Rob Powder coated the rear wheel mount too as I'd requested a work light mount attached to it:
[IMG]http://i250.photobucket.com/albums/gg270/gusvin/IMG_3878_zps4890601e.jpg[~original/IMG]

Testing Lights:

Mud Flaps done:

Job Done!

To say I'm happy is an understatement & for those like me who haven't the skill or time to build your own.. I am more than happy to recommend Rob & his crew at Raslarr Engineering..
(Google them & say Gus sent you
)
Al & I fitted the Work light but like to thank Rob for adding S/W & wires while the rear door trim was off!

Gus.


 Give them a ring Robs a great bloke & I'm sure if he can he will..
Comment