
 Tweet
Tweet
Hi Folks,
Need help please , I am trying to access the rear 12v outlet as mine's given up the ghost. I've read a few threads in the forum on how to do it.
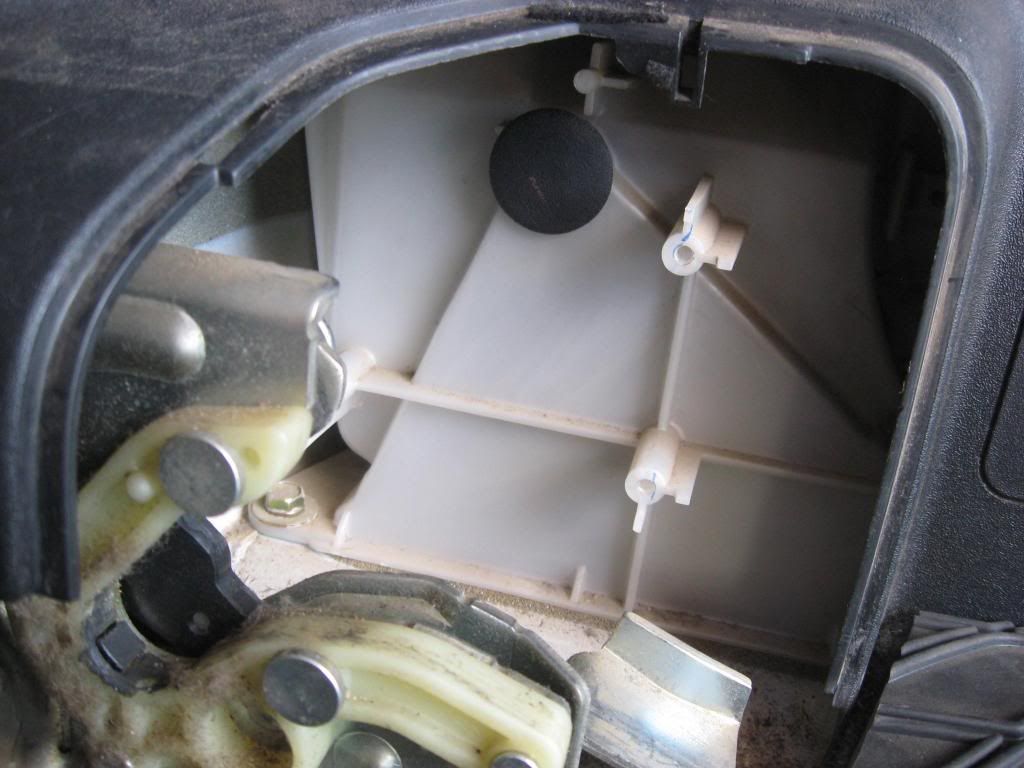
The problem is, I have the plastic plumbing work that is in the way. I assume it is part of the rear A/C unit. There isn't room to even fit my palm in, let alone touching the wire behind.
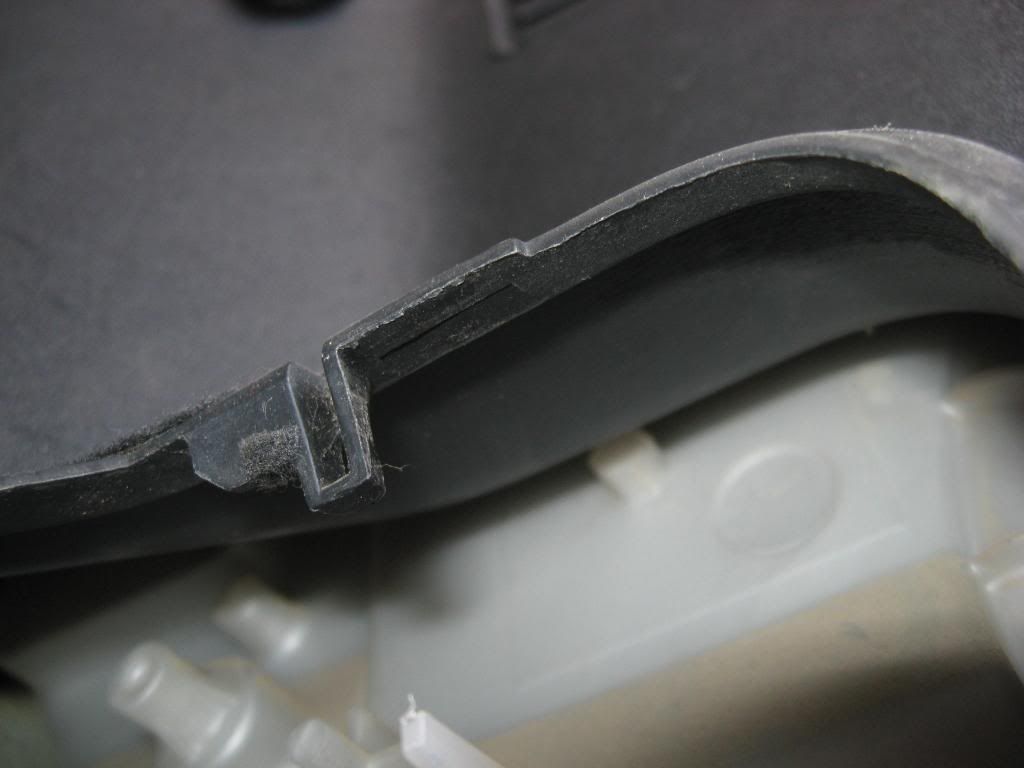
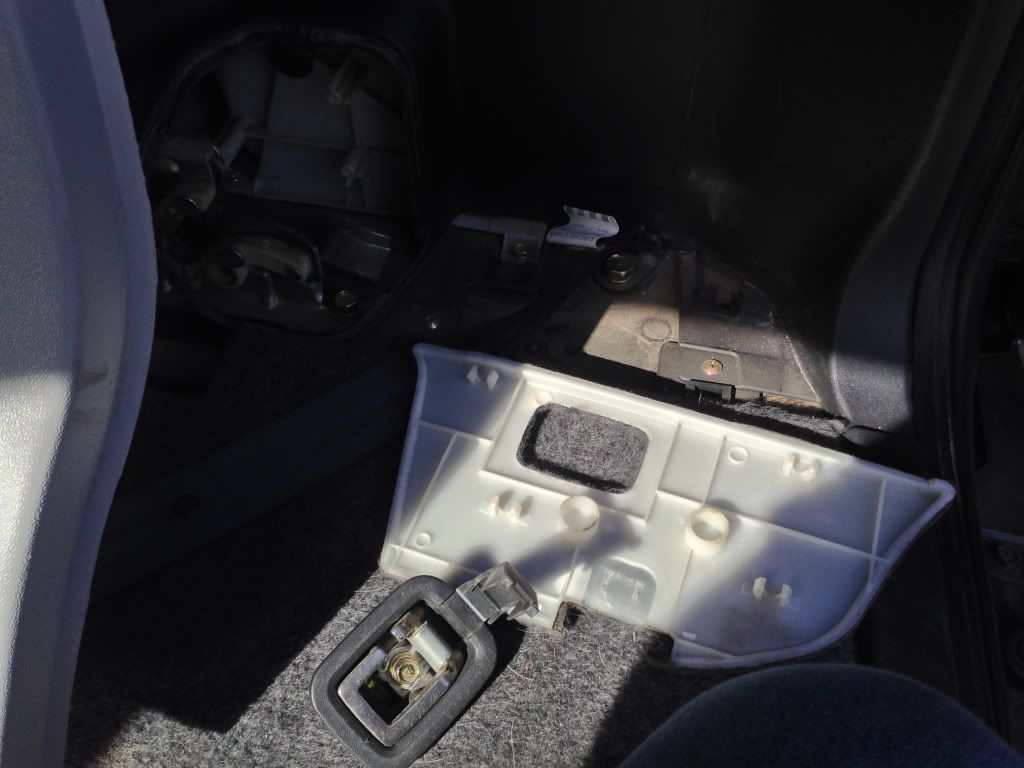
Does this mean the only way to get access is to remove the plastic trims? How hard is it to remove them? Has anyone done it? Any hints and tips are really appreciated.
Thank you
Need help please
, I am trying to access the rear 12v outlet as mine's given up the ghost. I've read a few threads in the forum on how to do it. The problem is, I have the plastic plumbing work that is in the way. I assume it is part of the rear A/C unit. There isn't room to even fit my palm in, let alone touching the wire behind.
Does this mean the only way to get access is to remove the plastic trims? How hard is it to remove them? Has anyone done it? Any hints and tips are really appreciated.
Thank you
 first I'd see if you can unbolt that piece enough to get hand clearance. Failing that, I guess you need to remove the side trim. I'm sure I've seen a how to on removing it. Its not that hard, but you could break xmas tree clips in the process .


Comment