 Tweet
Tweet
As it suggests, a rough guide on how to change an axle seal, not the be all and end all, and I'm sure it can be improved but just an outline so if your thinking of doing it yourself you can be somewhat prepared
First: Jack the Paj up and place some solid axle stands under it, never get under a car supported only by a jack
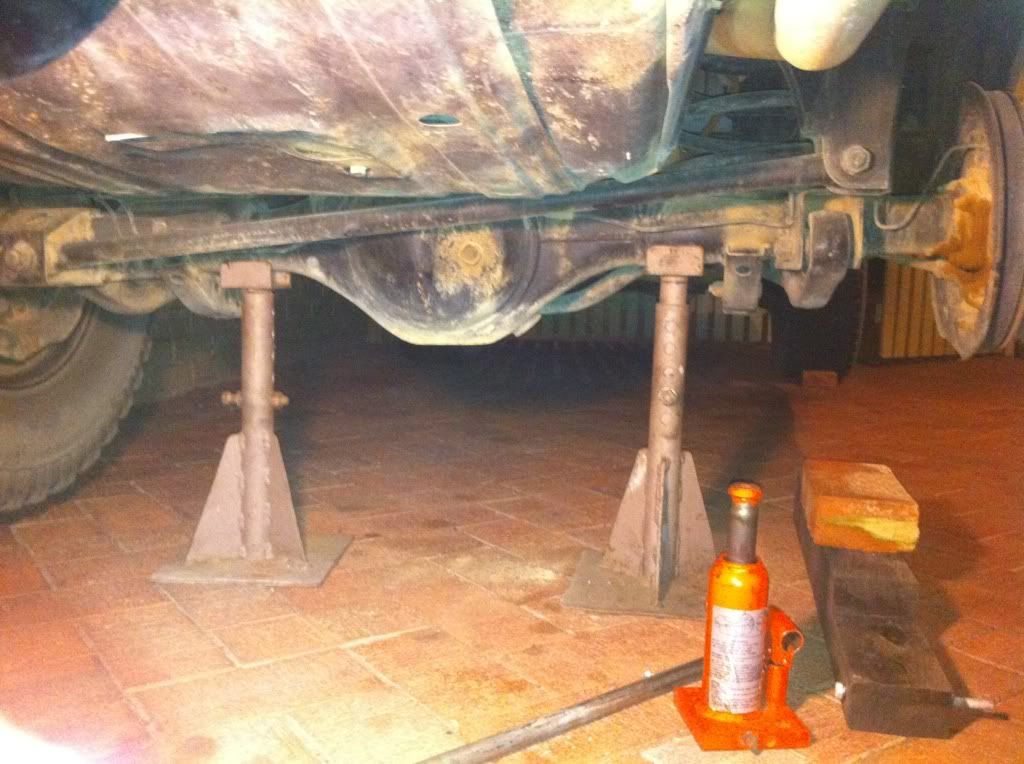
The vehicle should be parked up on level ground, front wheels chocked, preferably left in 4L with the hand brake off
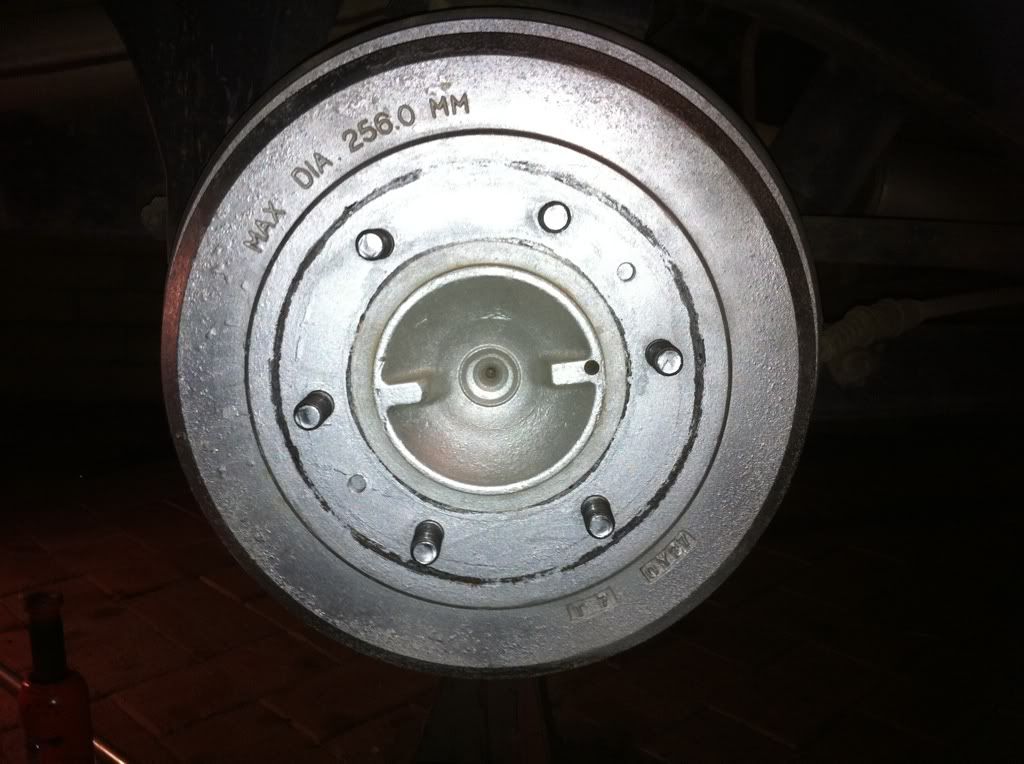
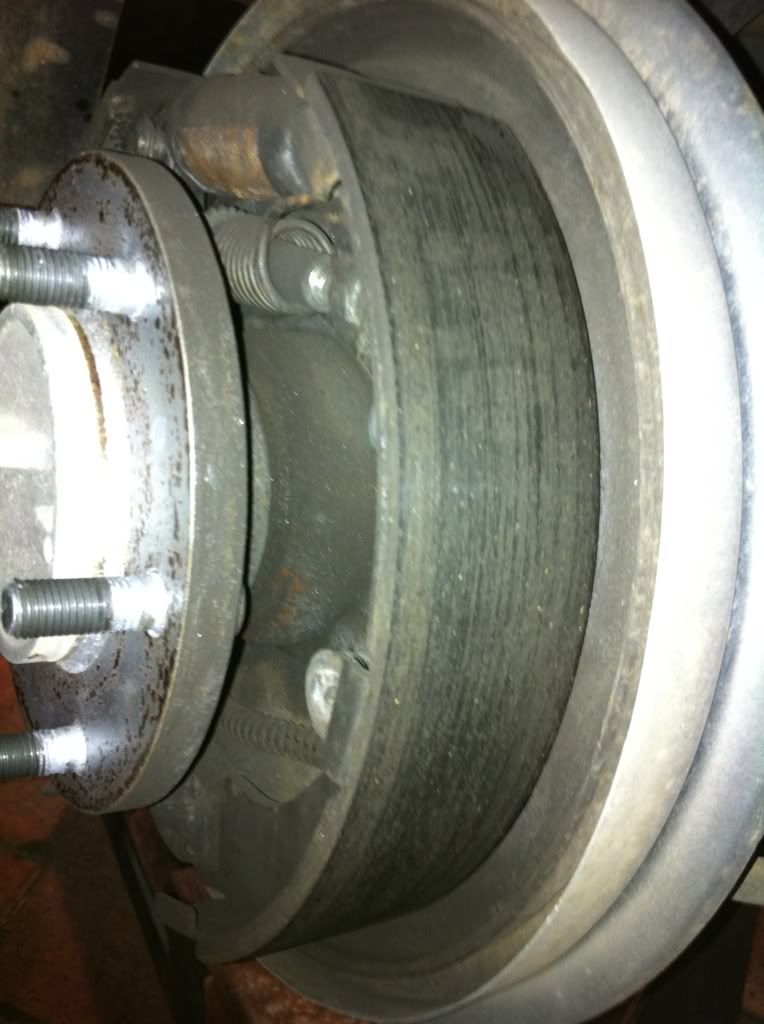
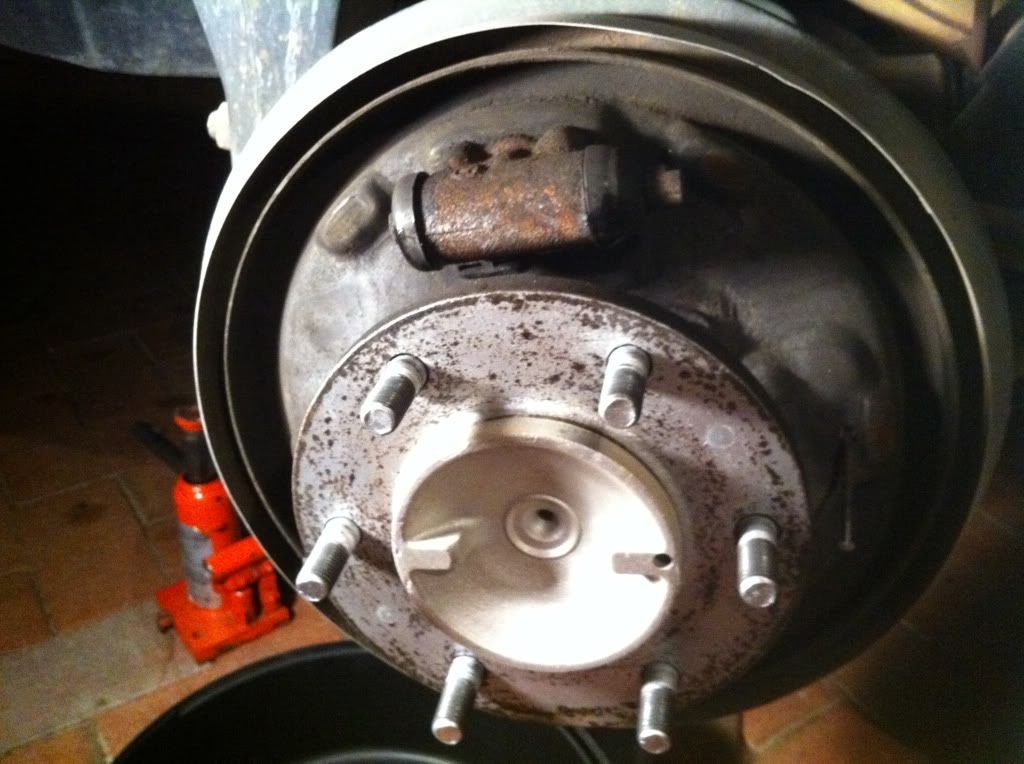
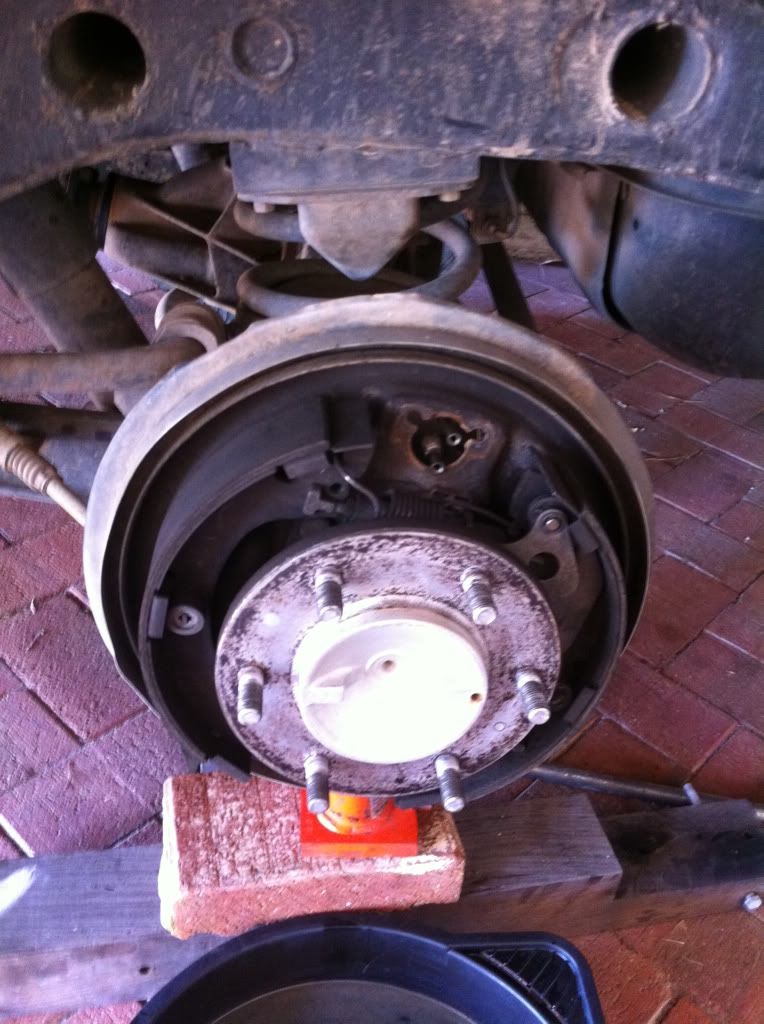
once the wheel is off you will find yourself looking at the brake drum. This should come off by hand (if its hard double check the hand brake is off) If the hand brake is off and its still a bit tight, an 8mm bolt through the two holes between the studs will help pull the drum off
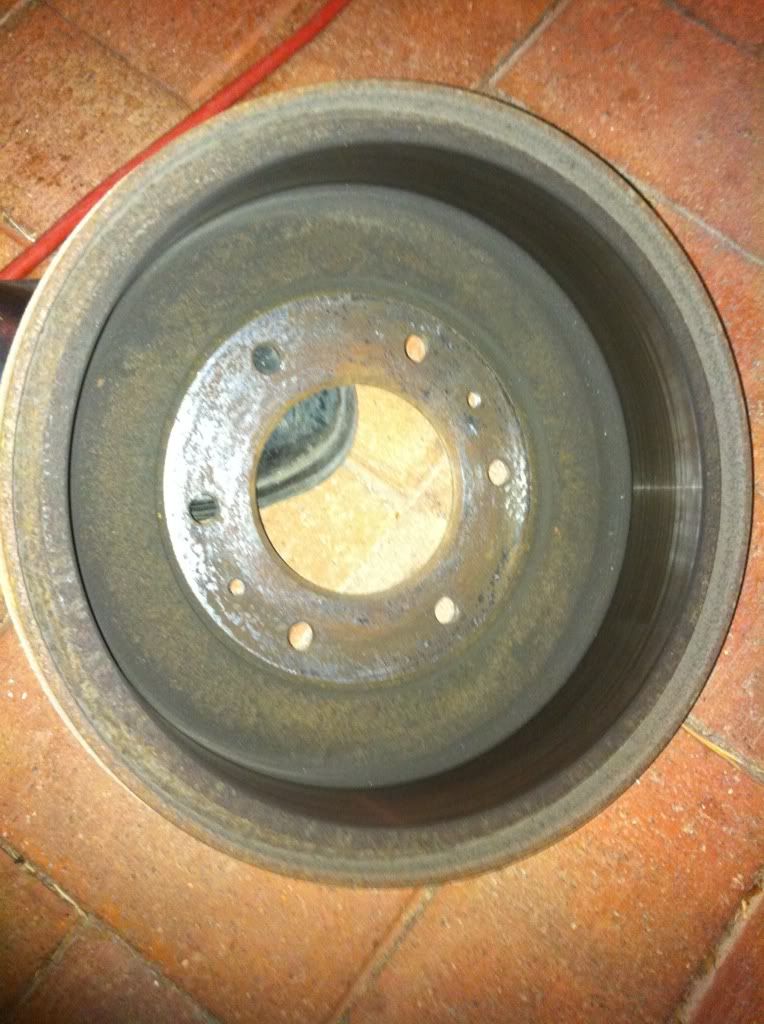
Once the drum is off be wary of where you place it, it will generally contain brake dust which is an absolute PITA to clean up. Now is also a good time to hit it with brake cleaner and inspect the condition of the drum and shoes.
Now generally the 4 nuts holding the brake assembly etc to the axle are covered in muck and possibly rust, hit them with Inox and let it soak whilst you take the brakes off
The fun begins, first remove the handbrake cable
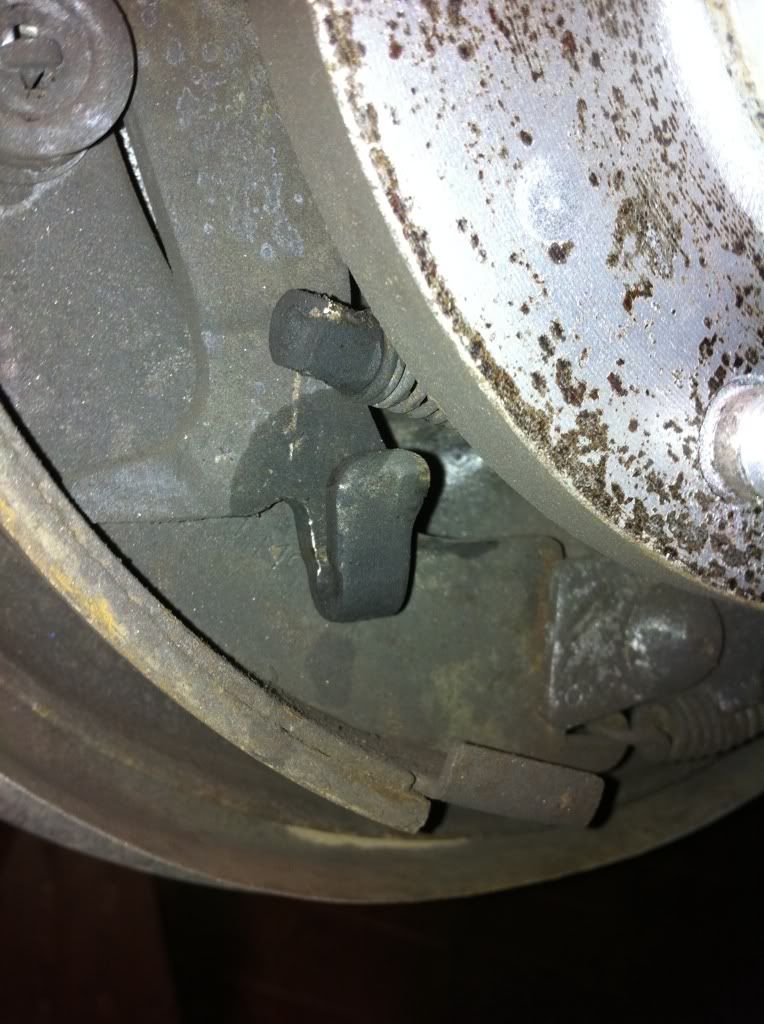
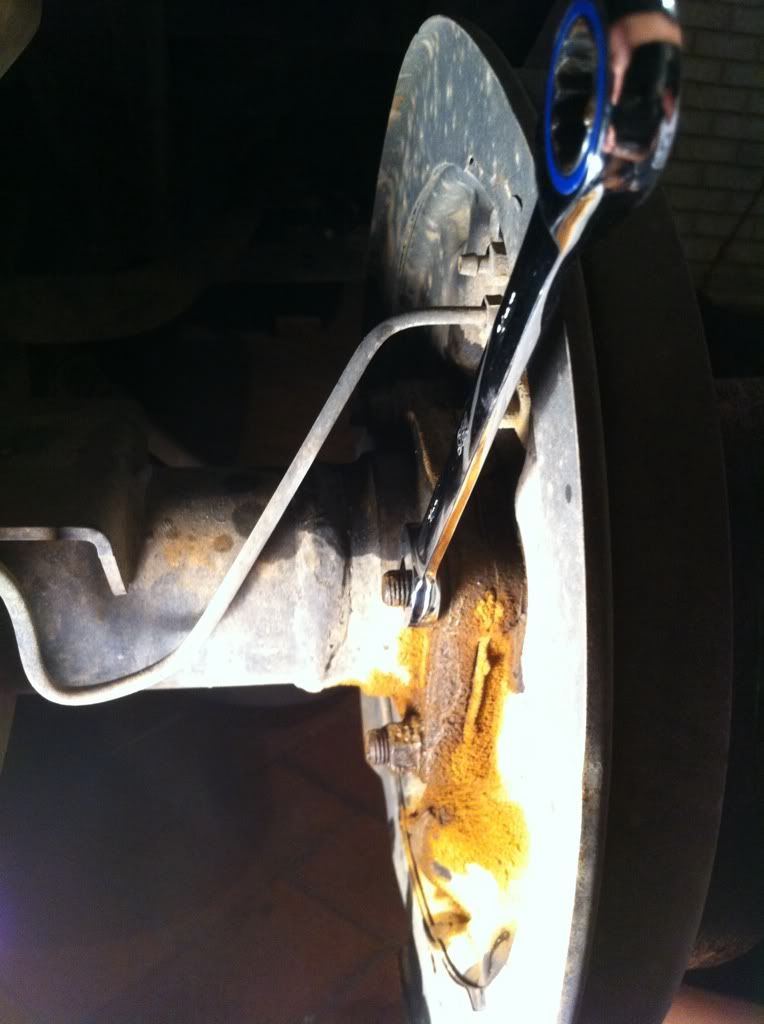
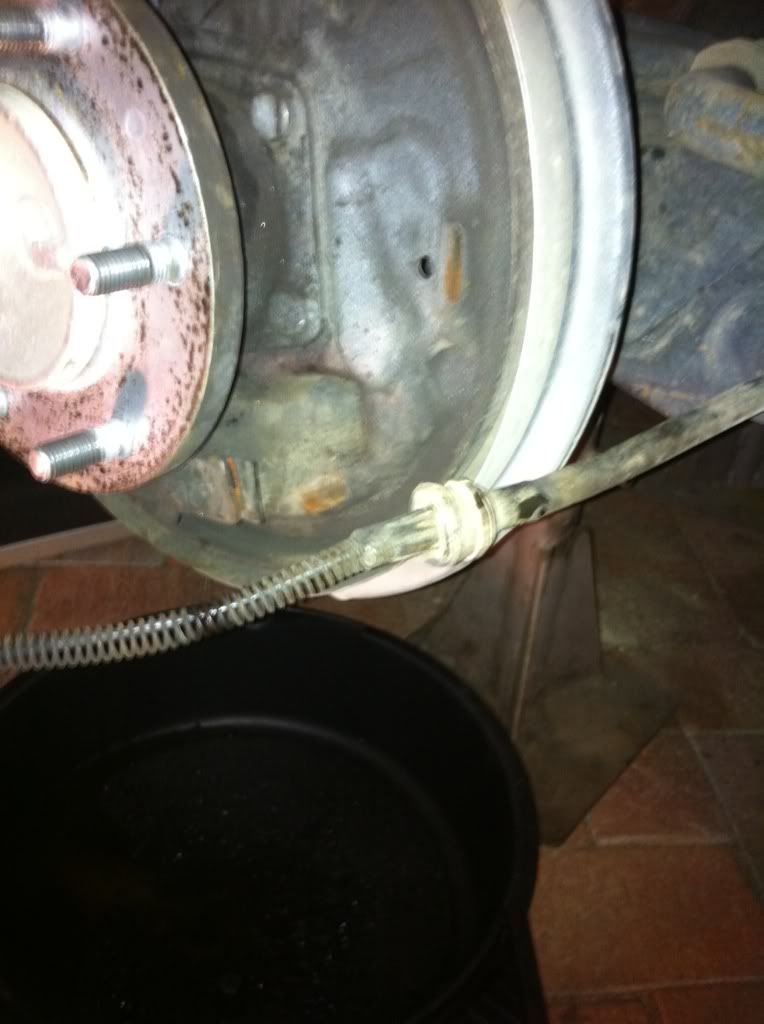
The photo below shows the wheel cylinder at the top, and the spiral bound cable at the bottom is the handbrake cable. i managed to damage the seal on the wheel cylinder so I'll run through how to replace them as well
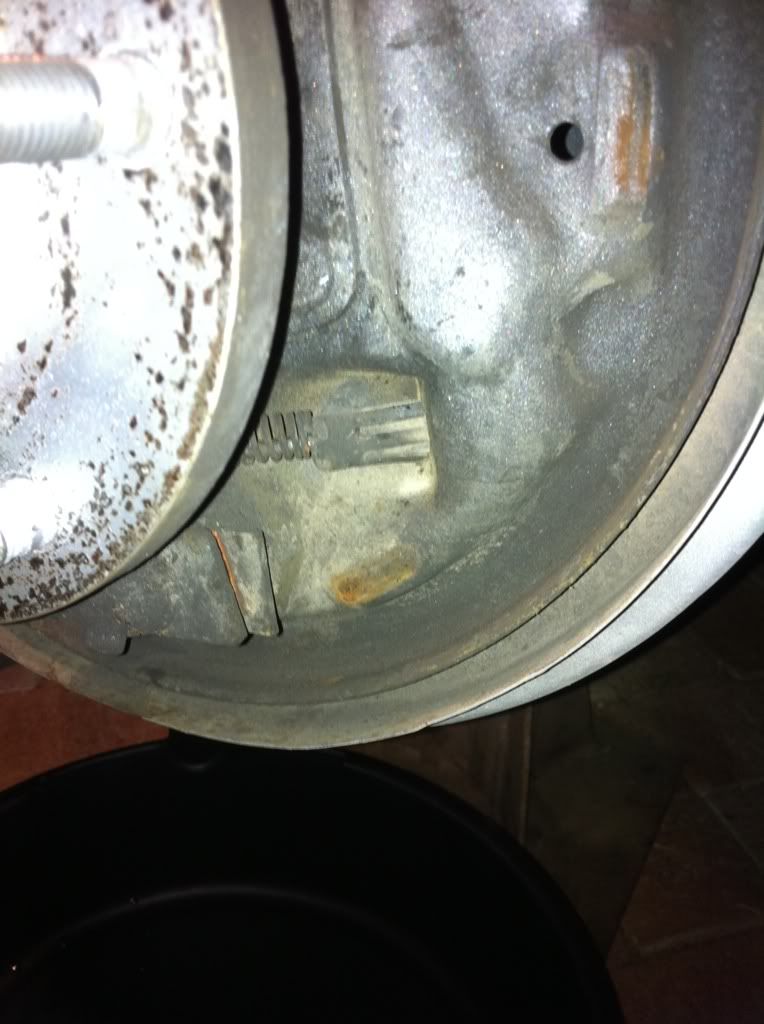
The retaining springs from hell hahaha pay special attention on how you take them off, they are a bugger to put back on with only 2 hands, taswegians your lucky, your third hand comes in useful here

First timers note that the spring at the bottom of the page is near on impossible to spread by hand, so to remove and fit you should use the spring at the top, part of the hand brake mechanism. I use a pair of multigrips to extend the spring, then slide the hook so to speak out of the hole
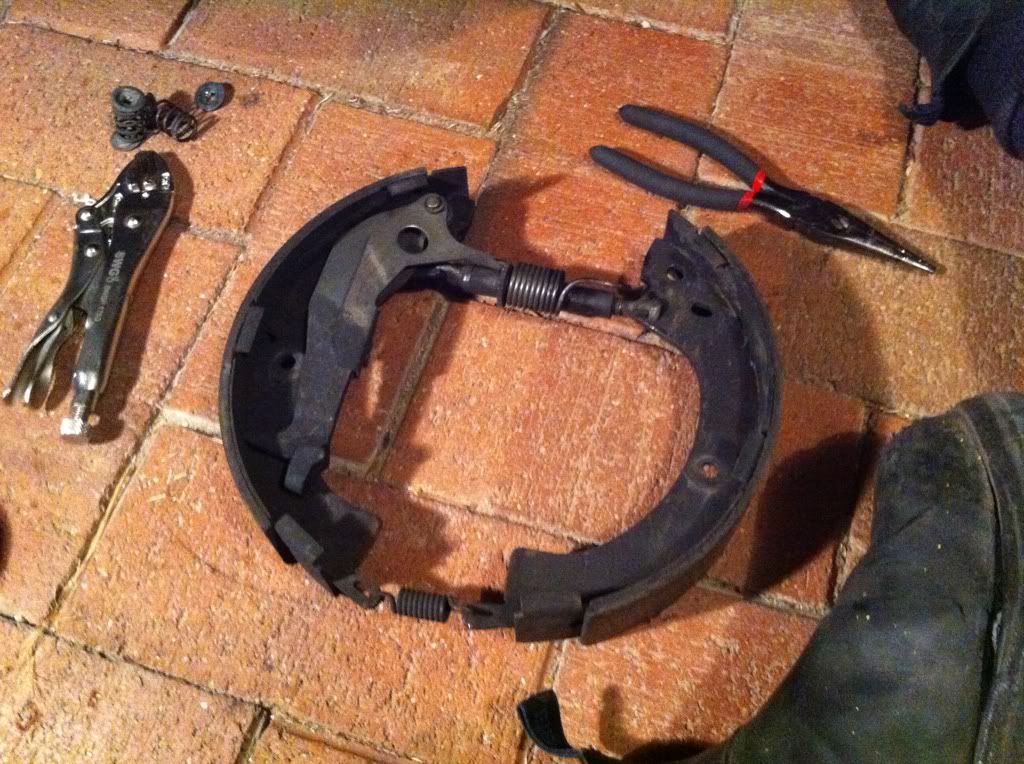
The brake assembly should look like this now. Note I haven't pulled the handbrake cable out yet, details to follow
I now undo the brake line leading to the wheel cylinder, its a 10mm head, and is quite soft. If you feel the spanner slip and it rounds, stop, do not try again with the spanner. Grap your multigrips and clamp it and now undo it. Beware, brake fluid strips paint, so it will be unkind to your skin and what ever else it drips on
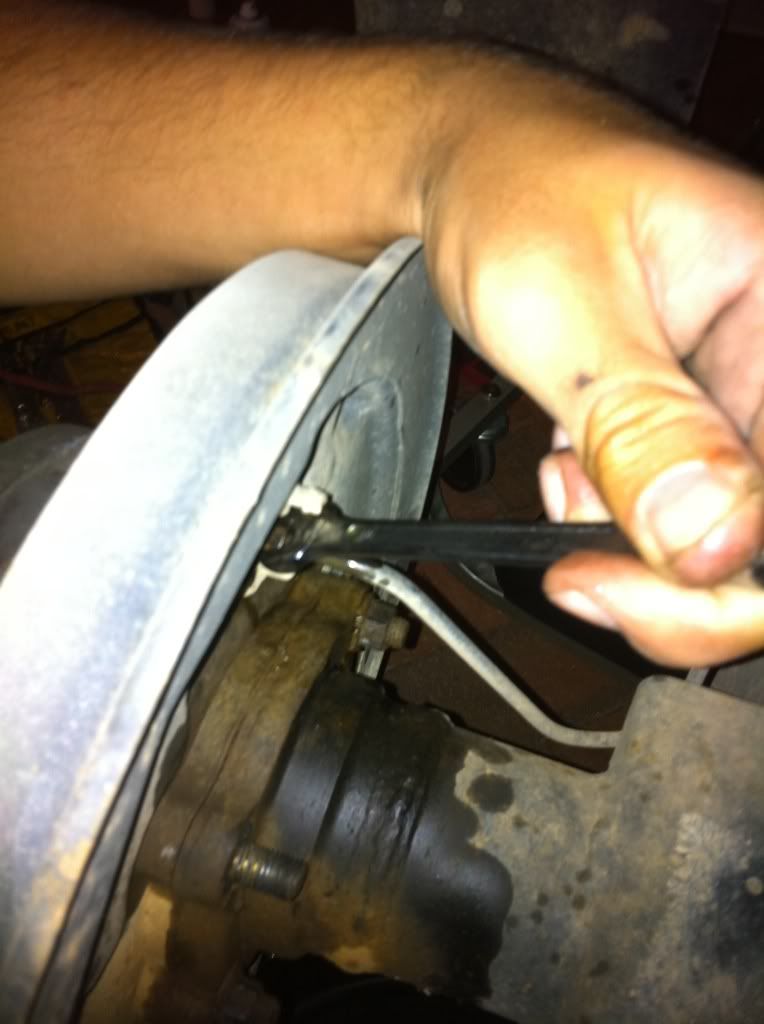
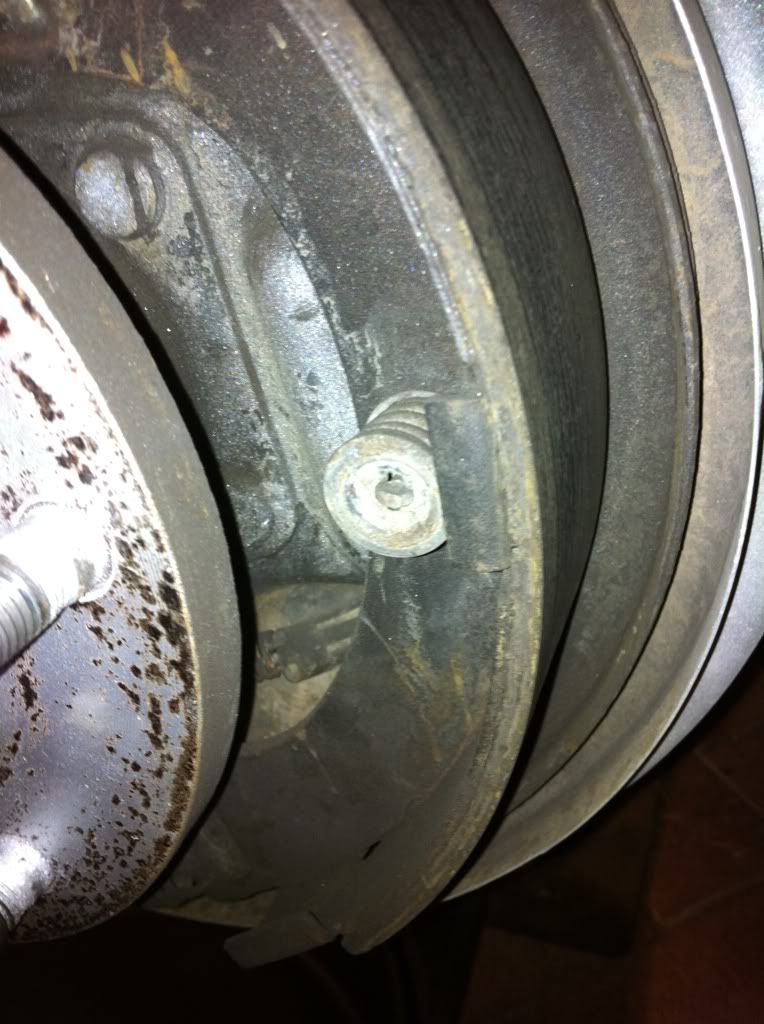
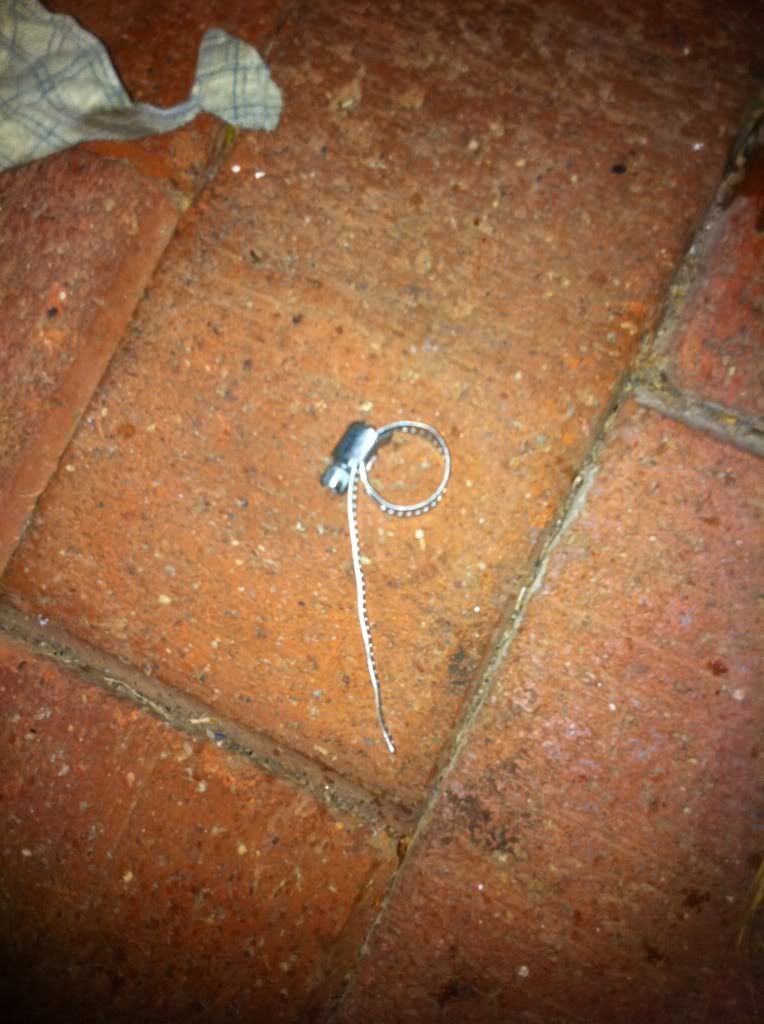
Now the dreaded retainer clip on the handbrake cable
Never fear, take one hose clamp, tighten around the clip and pull out the cable. Last of the three pictures shows the bolt holding it to the trailing arm, optional to remove

Now the nuts should have had plenty of time to soak so lets undo them and gently remove the axle
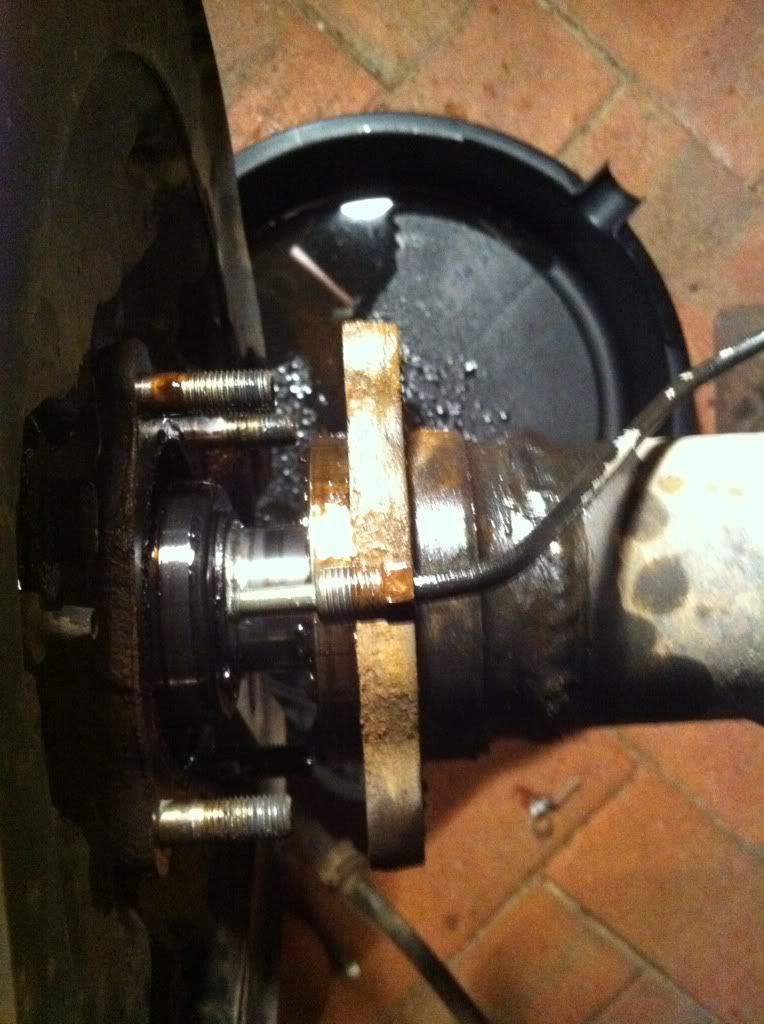
Behold, you are awesome, you have successfully removed one axle, at this stage for those living at home with the olds or a significant other, your mum/partner will come out, rage at you for taking up garage space, complain about the smell of diff oil and any oil spills you may have on the ground (good thing they were never around when i blew the axle and diff, diff oil everywhere)
Note: You can drain the diff oil at any stage if you wish, in the first picture you will notice the busted seal side is higher so oil will not leak out
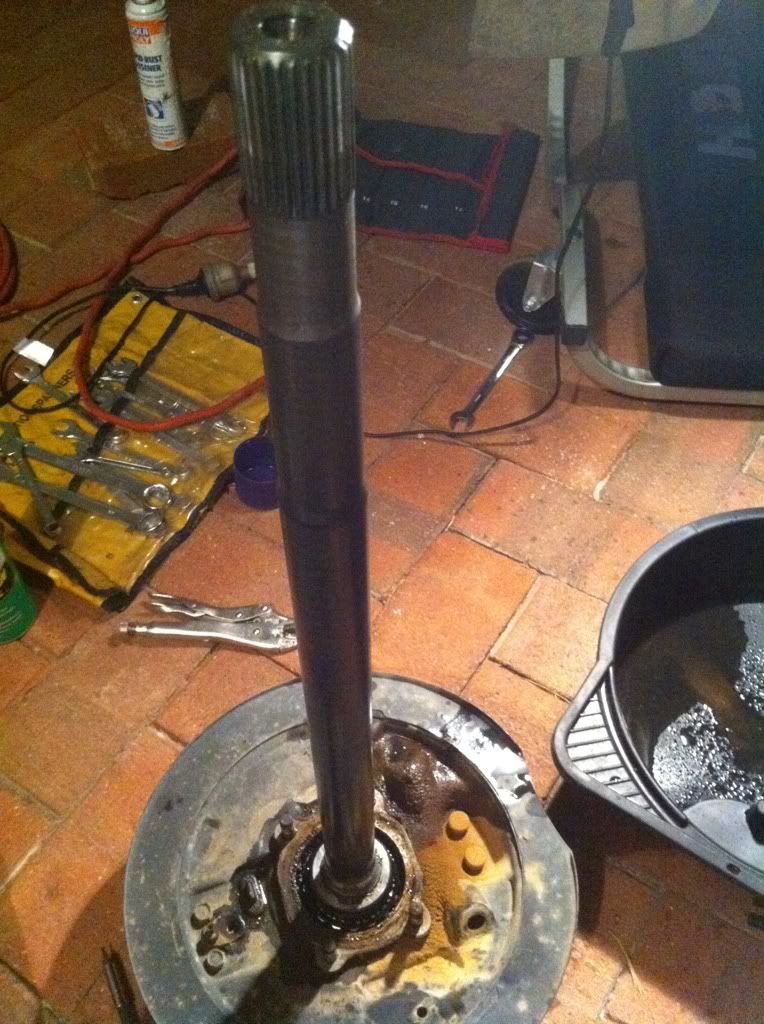
General pics:
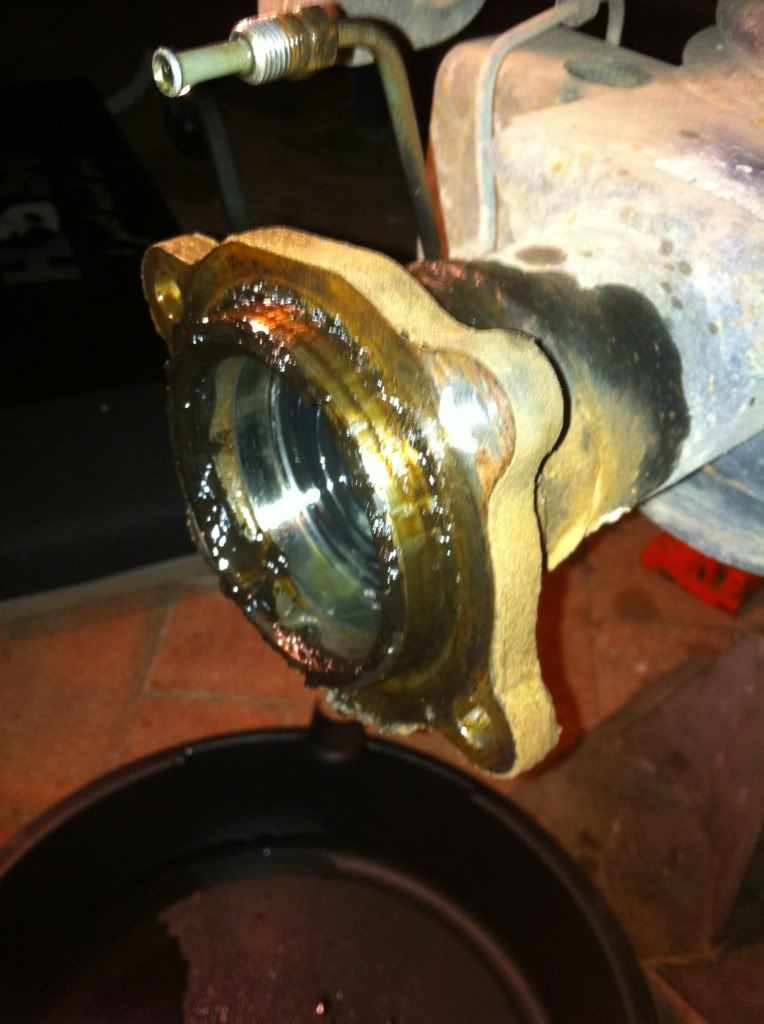
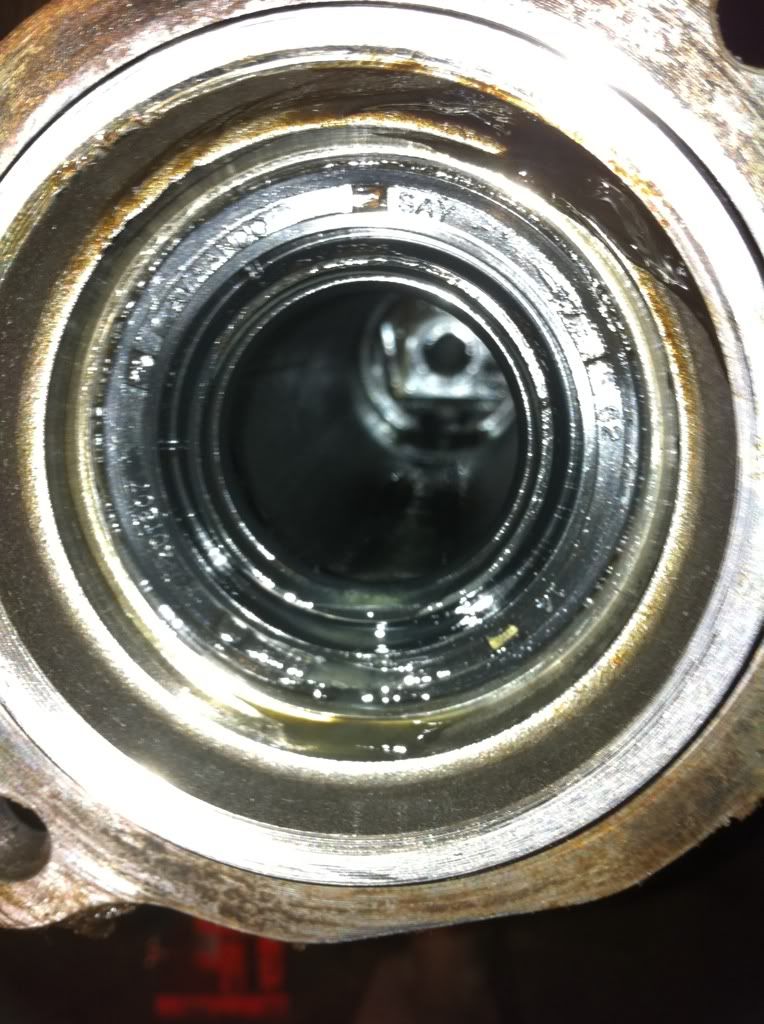
The offending outer seal - I think, its pretty damn new and didn't feel damaged, time will tell

Now lets pull that seal out, it's wedged in very tight, i ended up using a claw hammer to lever it out. Make sure you wrap cloth around any part of the hammer that will be touching the axle assembly. I bent my claw hammer pulling it out, mind you it was a cheap hammer
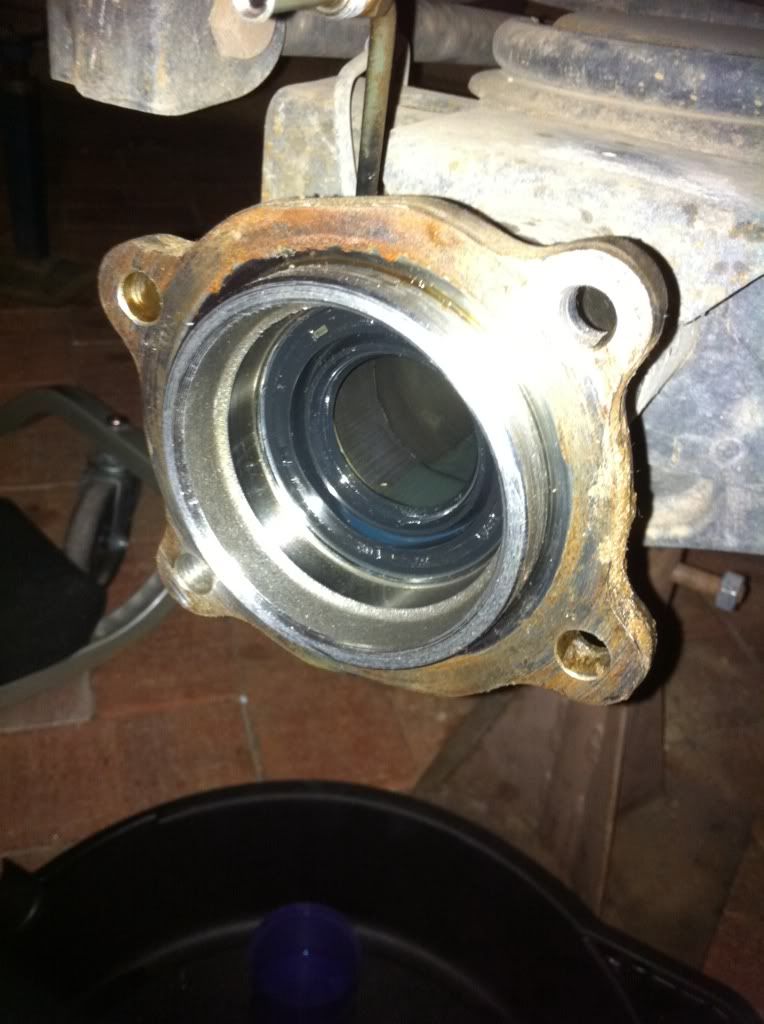
Now to place the new seal in, coat it with clean diff oil and push it in flush. you will only get so far before needing to persuade it in. I used a small hammer and a block of wood cut to cover most of the seal to distribute the force evenly as i tapped it in. Pic is of new oil seal
For those changing wheel cylinders:
Whilst the axle and backing plate are off, remove the wheel cylinder
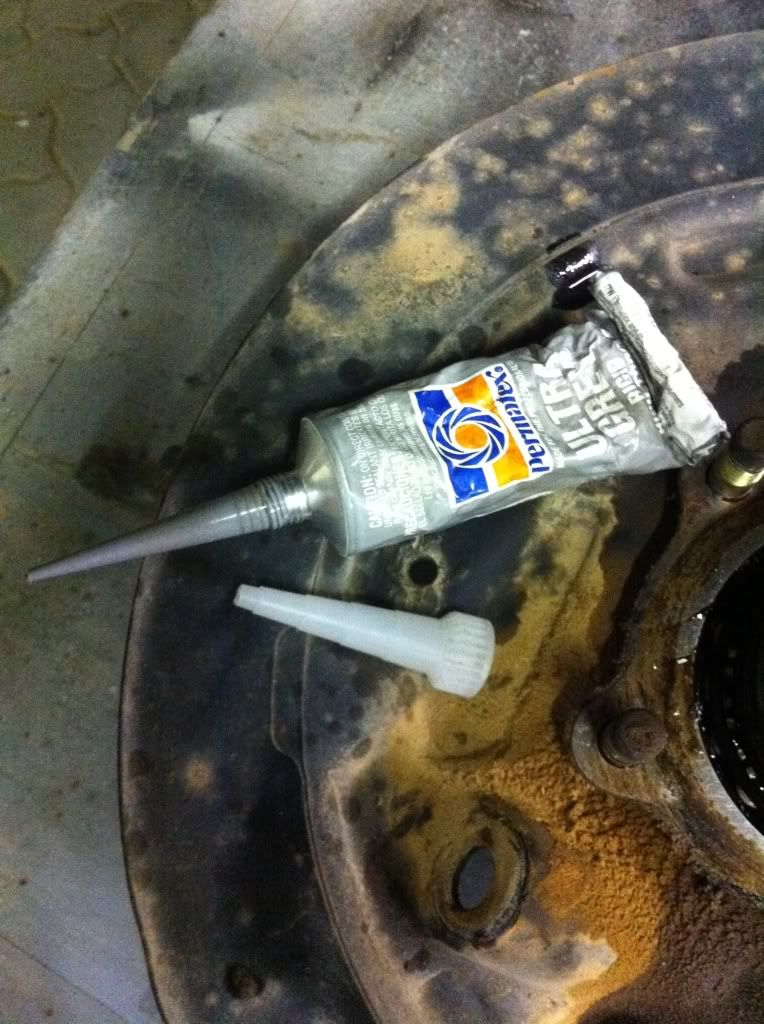
Now to put it all back together. In the photos 10 & 15 (i think) showing the backing plate, you can make out a gasket. remove this gasket, use permatex grey gasket goo and apply to both sides of the gasket. now fit together in reverse order
Remember what I said about putting the shoes back on. Place the 2 retaining springs in, make sure the bottom of the shoes are secured via the spring and now lastly place/struggle to put the top spring back in
Remember to put the handbrake cable back in
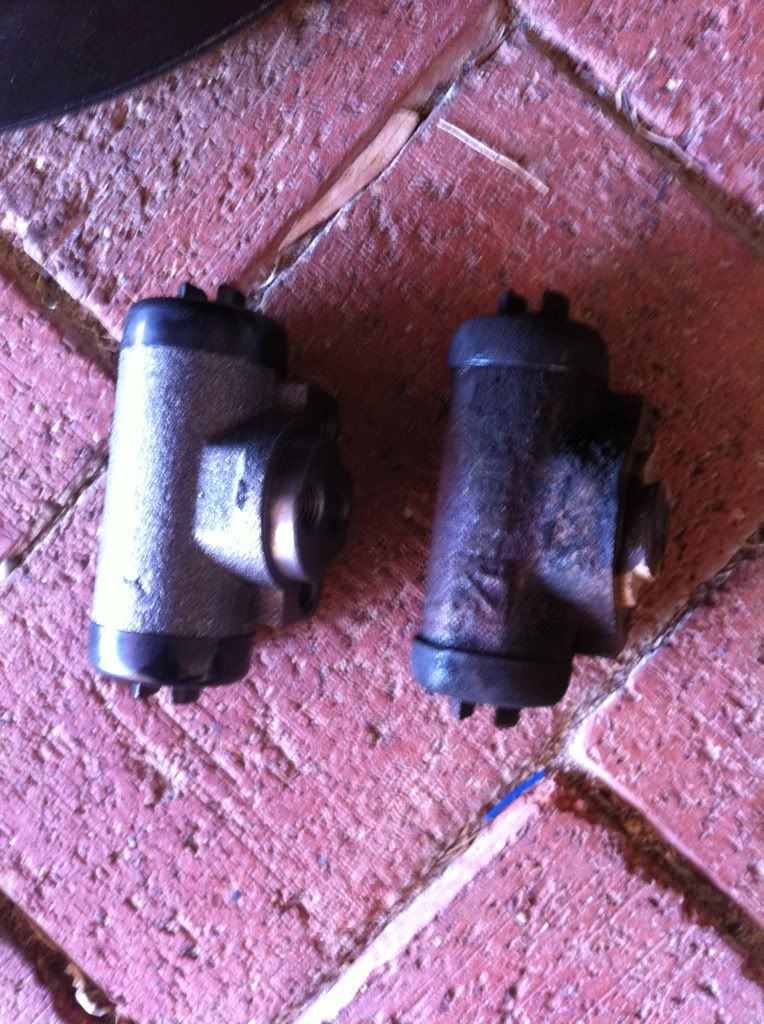
Whilst this is the opposite wheel its the same story, pull the wheel cylinder out, and replace with the new one
New Vs Old
Note when bleeding your brakes, and your using the one man kit don't be a tight ass, buy a new one and don't use the one from 6 months ago, the rubber had perished and the one way valve isn't going to work as well
Top the master cylinder to the top and pump away, every dozen pumps top up the cylinder. Remember you will have air through out the entire rear axles brake lines so don't worry about using the whole bottle to bleed the lines, its $7.50 a bottle and cant be stored once opened anyway
I'm sure as its 11:30 at night I've forgotten something (specifically spelling and grammar) but chime up and I'll re edit
First: Jack the Paj up and place some solid axle stands under it, never get under a car supported only by a jack
The vehicle should be parked up on level ground, front wheels chocked, preferably left in 4L with the hand brake off
once the wheel is off you will find yourself looking at the brake drum. This should come off by hand (if its hard double check the hand brake is off) If the hand brake is off and its still a bit tight, an 8mm bolt through the two holes between the studs will help pull the drum off
Once the drum is off be wary of where you place it, it will generally contain brake dust which is an absolute PITA to clean up. Now is also a good time to hit it with brake cleaner and inspect the condition of the drum and shoes.
Now generally the 4 nuts holding the brake assembly etc to the axle are covered in muck and possibly rust, hit them with Inox and let it soak whilst you take the brakes off
The fun begins, first remove the handbrake cable
The photo below shows the wheel cylinder at the top, and the spiral bound cable at the bottom is the handbrake cable. i managed to damage the seal on the wheel cylinder so I'll run through how to replace them as well
The retaining springs from hell hahaha pay special attention on how you take them off, they are a bugger to put back on with only 2 hands, taswegians your lucky, your third hand comes in useful here
First timers note that the spring at the bottom of the page is near on impossible to spread by hand, so to remove and fit you should use the spring at the top, part of the hand brake mechanism. I use a pair of multigrips to extend the spring, then slide the hook so to speak out of the hole
The brake assembly should look like this now. Note I haven't pulled the handbrake cable out yet, details to follow
I now undo the brake line leading to the wheel cylinder, its a 10mm head, and is quite soft. If you feel the spanner slip and it rounds, stop, do not try again with the spanner. Grap your multigrips and clamp it and now undo it. Beware, brake fluid strips paint, so it will be unkind to your skin and what ever else it drips on
Now the dreaded retainer clip on the handbrake cable
Never fear, take one hose clamp, tighten around the clip and pull out the cable. Last of the three pictures shows the bolt holding it to the trailing arm, optional to remove
Now the nuts should have had plenty of time to soak so lets undo them and gently remove the axle
Behold, you are awesome, you have successfully removed one axle, at this stage for those living at home with the olds or a significant other, your mum/partner will come out, rage at you for taking up garage space, complain about the smell of diff oil and any oil spills you may have on the ground (good thing they were never around when i blew the axle and diff, diff oil everywhere)
Note: You can drain the diff oil at any stage if you wish, in the first picture you will notice the busted seal side is higher so oil will not leak out
General pics:
The offending outer seal - I think, its pretty damn new and didn't feel damaged, time will tell
Now lets pull that seal out, it's wedged in very tight, i ended up using a claw hammer to lever it out. Make sure you wrap cloth around any part of the hammer that will be touching the axle assembly. I bent my claw hammer pulling it out, mind you it was a cheap hammer
Now to place the new seal in, coat it with clean diff oil and push it in flush. you will only get so far before needing to persuade it in. I used a small hammer and a block of wood cut to cover most of the seal to distribute the force evenly as i tapped it in. Pic is of new oil seal
For those changing wheel cylinders:
Whilst the axle and backing plate are off, remove the wheel cylinder
Now to put it all back together. In the photos 10 & 15 (i think) showing the backing plate, you can make out a gasket. remove this gasket, use permatex grey gasket goo and apply to both sides of the gasket. now fit together in reverse order
Remember what I said about putting the shoes back on. Place the 2 retaining springs in, make sure the bottom of the shoes are secured via the spring and now lastly place/struggle to put the top spring back in
Remember to put the handbrake cable back in
Whilst this is the opposite wheel its the same story, pull the wheel cylinder out, and replace with the new one
New Vs Old
Note when bleeding your brakes, and your using the one man kit don't be a tight ass, buy a new one and don't use the one from 6 months ago, the rubber had perished and the one way valve isn't going to work as well
Top the master cylinder to the top and pump away, every dozen pumps top up the cylinder. Remember you will have air through out the entire rear axles brake lines so don't worry about using the whole bottle to bleed the lines, its $7.50 a bottle and cant be stored once opened anyway
I'm sure as its 11:30 at night I've forgotten something (specifically spelling and grammar) but chime up and I'll re edit
 If I agreed with you, then we would both be wrong
  '89 NG Paj, 3L V6, now running 2" suspension lift, 33" Micky T Baja Claws's, Front LOKKA & 12,000lb winch
Comment