Below Nav Bar Ad Module

Collapse

NM Wheel bearings removal???

Collapse
X
 
  • Filter
  • Time
  • Show
Clear All
new posts
  • ducko
    Member
    • Feb 2008
    • 58
    • Budgewoi, NSW

    NM Wheel bearings removal???

    how do i get the front wheel bearings off my NM??

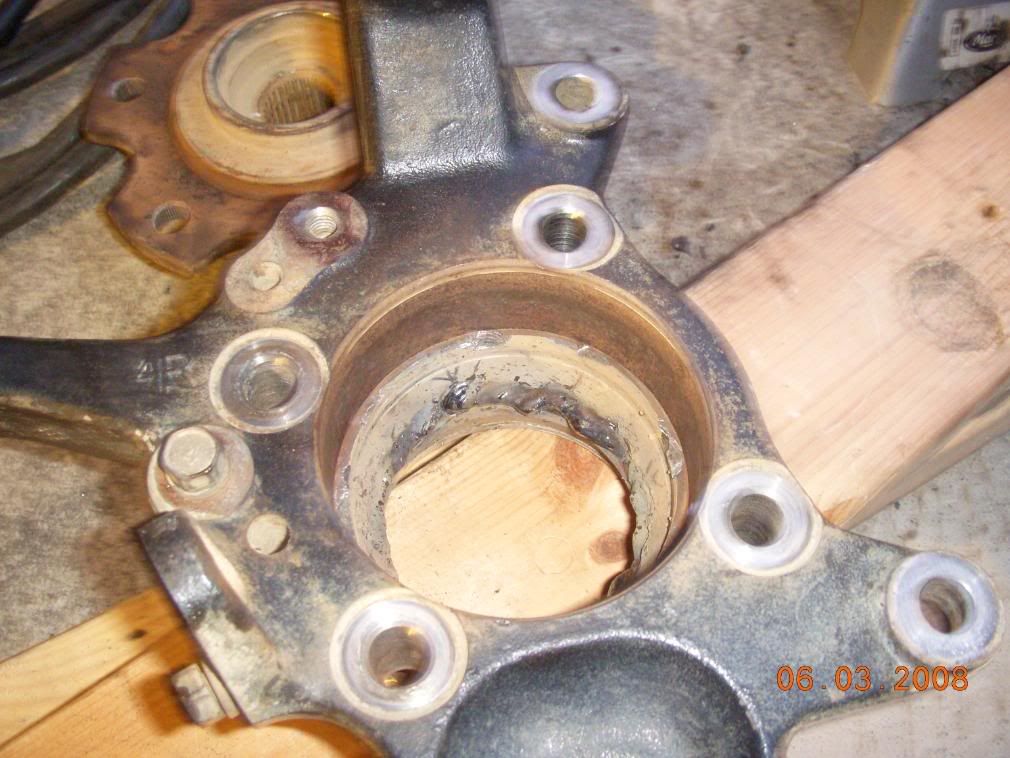
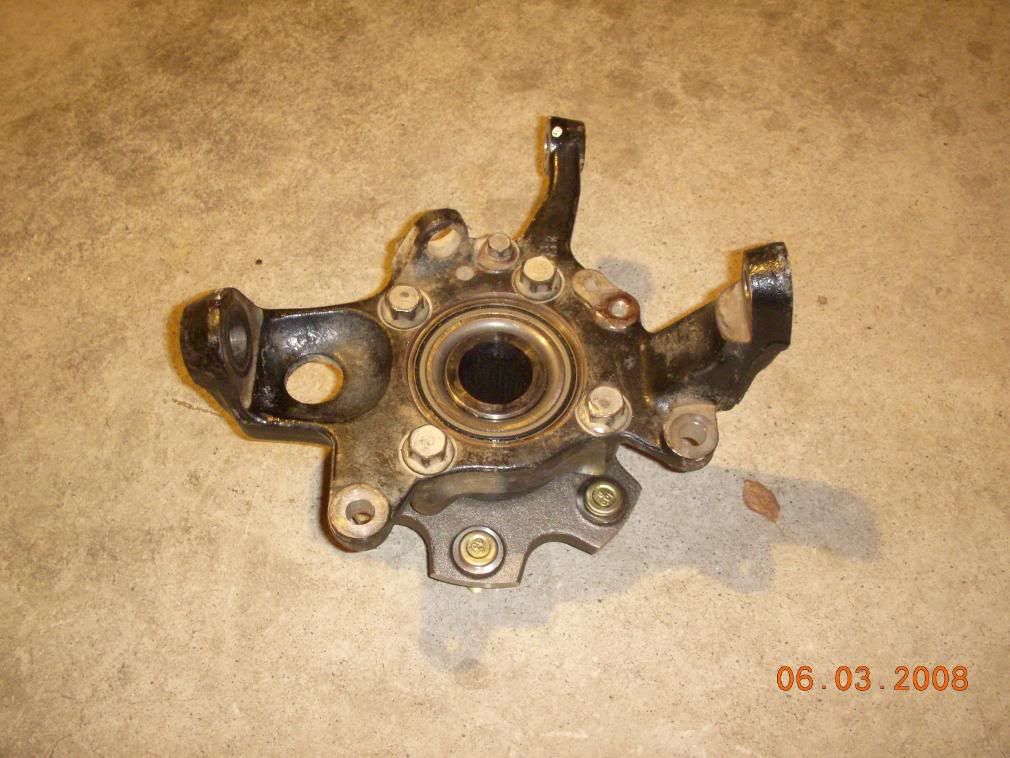
    ive taken the caliper off,the disk off,undone all the bolts and the nut on the drive shaft but it is still stuck solid.

    is there a trick to this??
    2002 NM 3.2 DI.D,with NP VR/X Headlights (rolled)
    2000 NM GLS V6 with the VR/X lights
  • gaz1
    Valued Member
    • Jun 2007
    • 1411
    • Blue Mountains NSW

    #2
    I haven't done this job, but my understanding is that the knuckle and the hub all come off together, ie you need to undo the top and bottom balljoints and the tie rod end. The bearings are integral to the hub - can't be replaced by themselves.

    Gaz
    2010 MY 2011 VR-X V6. Stock standard.

    Previously 02 NM auto V6 Exceed silver. Extra transmission cooler & transmission temp gauge, activated rear lights, Impco sequential LPG system, Redback (Wildcat) Headers, heavy duty radiator. Lovells shocks F & R, Polyair bags in rear.

    My original Pajero experience - '90 NG Superwagon, 3.0 V6 manual bought new and kept until 1998. Great vehicle, no problems apart from the noisy valve lifters typical of that engine.

    Comment

    • ducko
      Member
      • Feb 2008
      • 58
      • Budgewoi, NSW

      #3
      well im in trouble then because the new one's dont have the steering knuckle

      attached they have 4 bolt's that look like they hold them on from the inside.

      ive undone these bolts on my car but it wont budge
      2002 NM 3.2 DI.D,with NP VR/X Headlights (rolled)
      2000 NM GLS V6 with the VR/X lights

      Comment

      • icysyrup
        Valued Member
        • Jun 2007
        • 747
        • USA

        #4
        The bearings are attached to the knuckle with bolts. Those bolts need to be removed and then you will be able to seperate it. The easiest way is to completely remove the ball joints and take the knuckle off and then you will be able to get the old bearing out. I had to take a torch to the outside of the knuckle to heat it up and expand it in order to hammer out the old bearing. It can be a bit of a pain to seperate them but it is possible.
        03 NP, 34" tires, Fully skiplated, Custom rocksliders, custom winch mount, OME HD springs/shocks, and Aeroflow exhaust, Locked Front and Rear.

        Happiness is like peeing your pants, everyone can see it, but only you can feel the warmth.

        Comment

        • psproule
          Valued Member
          • Jun 2007
          • 3680
          • Googong, NSW

          #5
          It can be done with the knuckle in place. Take off the caliper (tie it out of the way) & brake disc.

          Pry out the hub dust cap. Undo the large nut in the centre of the hub and remove the driveshaft (you probably have to undo the bolts at the inner end of the shaft as well in order to get enough length to get it out of the hub but try it without first - might be lucky).

          Undo the four bolts around the back of the hub assembly. Spray plenty of WD / CRC etc around the hub to flange join and let it sit for a while.

          Drive the hub out of the steering knuckle. The last one we did took a large soft faced hammer and lots of swearing. It will be in very very tight.

          Worst case is you will have to remove the knuckle and get it pressed out.

          New one goes in easily, but make sure you torque the shaft nut up properly as this provides the bearing preload. Otherwise a new one will fail again. Smaer a small amount of grease on the shaft splines too.

          Pat
          2016 Mitsubishi NX Pajero GLX
          2011 Landrover Freelander II SD4

          Comment

          • icysyrup
            Valued Member
            • Jun 2007
            • 747
            • USA

            #6
            Here are some pics of the knuckle assembled and then apart.


            In the first pic i had a hard time getting the bearing out in one piece so i took it out piece by piece. Then the outer race decided not to come out so...an old timer told me to weld a bead around it and badabing.....out it popped with a light whack.
            03 NP, 34" tires, Fully skiplated, Custom rocksliders, custom winch mount, OME HD springs/shocks, and Aeroflow exhaust, Locked Front and Rear.

            Happiness is like peeing your pants, everyone can see it, but only you can feel the warmth.

            Comment

            • Pete
              Valued Member
              • Jan 2010
              • 947
              • Mornington Peninsula, Vic

              #7
              Just for anyone else who attempts this in the driveway and stumbles across this thread...mine were stuck as. I whacked and heated away for a while and ended up taking the stub out and down to engineers and they put over 12t of pressure and got it real hot with the oxy before it moved.

              No way, no how would this have ever moved in the driveway. Both sides were just as tight.

              Comment

              • peter ficzere
                Junior Member
                • Mar 2011
                • 3
                • rsa

                #8
                hi Duco

                please give me the part number on your brg unit while it is in your hand...would greatly appreciated.
                Peter from RSA

                Comment

                • mrbitchi
                  Valued Member
                  • Jun 2007
                  • 3577
                  • Brisbane

                  #9
                  Couple of numbers for you from different suppliers.

                  Timken HA590145

                  Repco RWH5090
                  Cheers, John.
                  LC200 V8 goodness

                  MY12 LC200 GXL 4.5Lt V8 twin turbo, GVM upgrade, ARB bar, Warn winch, Outback Acc rear bar and dual carrier, TJM sidesteps, Bushskinz, Long Ranger 180Lt tank, Black Widow drawers, cargo barrier, Polaris Awning, +++
                  Ex - NM auto, 2"Kings, Bilsteins, Buckshots, Wildcat headers, 2.75" Mandrel bent exhaust, Injected LPG, Smartbar, Scraper bar, Bushskinz, Custom steps, Dual Batteries, Breathers, Black Widow drawers, Polaris Awning.

                  Comment

                  • Pete
                    Valued Member
                    • Jan 2010
                    • 947
                    • Mornington Peninsula, Vic

                    #10
                    I installed repco. $142ea.

                    The right hand side was not perfectly sealed and the nut and split pin were quite rusted. It was also a little clunky. The left was new and shiny and smooth.

                    Comment

                    • walk of shame
                      Junior Member
                      • Feb 2011
                      • 38
                      • Brisvegas

                      #11
                      Originally posted by psproule View Post
                      It can be done with the knuckle in place.
                      Sorry to be raising such an old thread from the dead, but hats off to you guys here on the forum. Getting it out "in-situ" can certainly be done, and with a decent sledge hammer, it really isn't even that bad :-)

                      Since there was so much talk about taking it out, heat, pressing it, etc, figured I had to chime in with another success story at the very least.

                      Comment

                      • psproule
                        Valued Member
                        • Jun 2007
                        • 3680
                        • Googong, NSW

                        #12
                        No worries - another trick I think I have posted in another thread is to first try and spin the bearing hub in the knuckle by hitting the flange with a drift and a big hammer. This will turn it in the knuckle and break the rusty hold. Then you can start to drive it out.

                        Pat
                        2016 Mitsubishi NX Pajero GLX
                        2011 Landrover Freelander II SD4

                        Comment

                        • steveandviv
                          Valued Member
                          • Apr 2008
                          • 857
                          • Broome

                          #13
                          Originally posted by Pete View Post
                          Just for anyone else who attempts this in the driveway and stumbles across this thread...mine were stuck as. I whacked and heated away for a while and ended up taking the stub out and down to engineers and they put over 12t of pressure and got it real hot with the oxy before it moved.

                          No way, no how would this have ever moved in the driveway. Both sides were just as tight.
                          Mine also and took some getting out, 60 T to press out at the shop, they shattered on impact. This was after we blew the bearing just off the CREB and then had to drive Cains.

                          As a notes the last one I tried to get out also failed at the shop.
                          2000 NM Paj - 2.5 Inch Lift - 81 Long Range tank - UHF - Rhino Rack - Dual Batteries - Hella 4000 Spotties - ARB Bar - Cargo Barrier - Custom Shelves - GPS Screen - Garmin GPS - Snorkle - Ox TJM Winch - MT MTZ - Polly Bags - Front ARB Locker - 50&60ltr Waeco....http://www.steveandviv.blogspot.com/

                          Comment

                          • dookie
                            Member
                            • Jun 2010
                            • 50
                            • USA

                            #14
                            Originally posted by psproule View Post
                            No worries - another trick I think I have posted in another thread is to first try and spin the bearing hub in the knuckle by hitting the flange with a drift and a big hammer. This will turn it in the knuckle and break the rusty hold. Then you can start to drive it out.
                            This is by far the easiest way for the DIYer. Once you can get it rotating the force needed to get it out of the knuckle is greatly reduced.

                            Comment

                            Matched content

                            Collapse
                            Working...
                            X